
Astrophotography travel spots can feel overwhelming because the “best” location depends less on hype and more on your season, moon phase, access, and how much logistics you want to deal with.
If you plan around darkness, weather patterns, and foreground options, you can often get stronger photos at a “good” spot on a great night than at a famous spot on a compromised night. That’s the difference most trips come down to.
This guide narrows the decision with a practical checklist, a comparison table, and a short list of locations photographers repeatedly return to for consistent skies, plus field habits that reduce wasted nights.
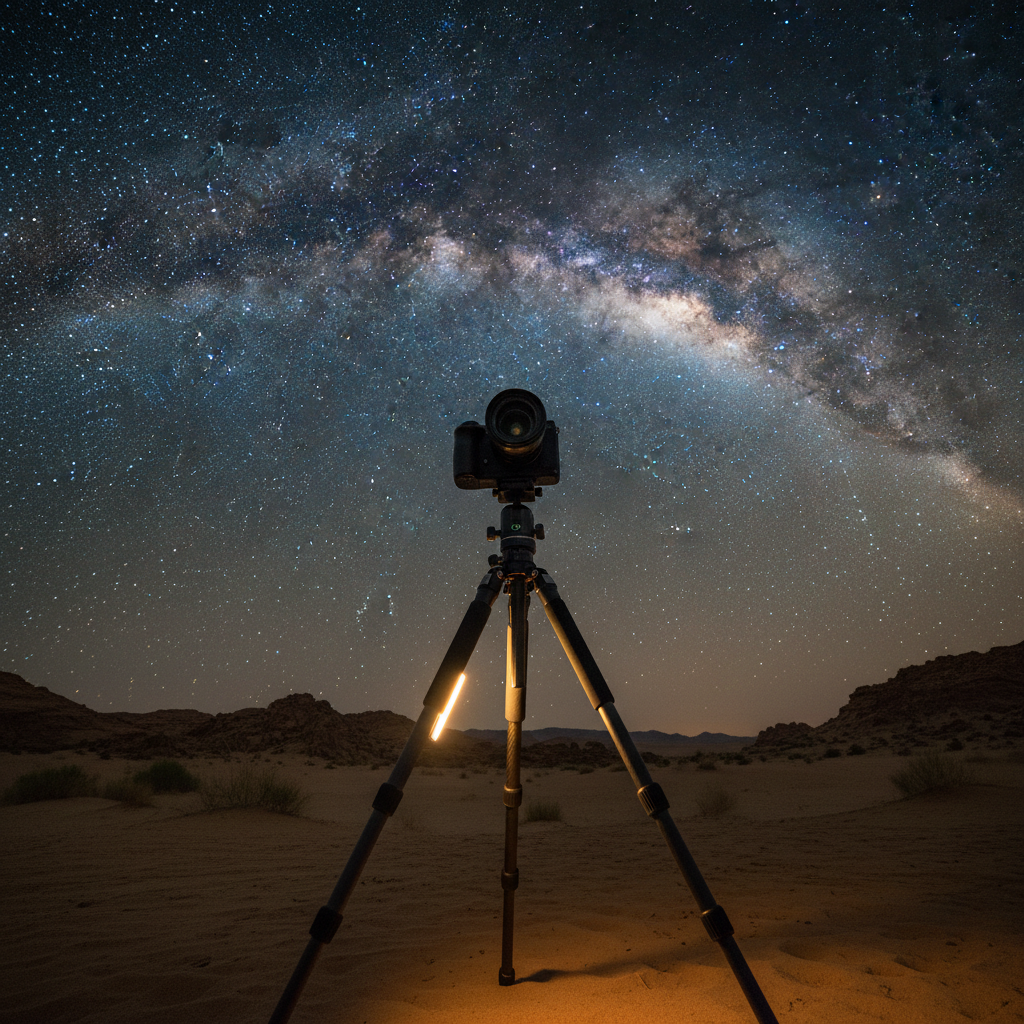
What makes a travel spot truly good for astrophotography
Most people start with a map of dark areas, but in practice you want a mix of darkness, reliable access, and something worth putting under the stars.
- Low light pollution: darker skies increase contrast and color, especially in Milky Way dust lanes.
- Predictable weather: deserts and high plateaus often beat coastal humidity, but wind can be the tradeoff.
- Foreground options: arches, trees, lakes, dunes, old structures, or clean horizons, because empty black silhouettes get old fast.
- Safe, legal access: open at night, acceptable parking, and clear rules on drones, fires, and off-trail walking.
- Low hassle: cell coverage, nearby lodging, restrooms, and an easy walk can matter more than you expect at 2 a.m.
According to NASA, moonlight can significantly brighten the night sky and reduce visibility of faint objects, so planning around the lunar phase is not a nitpicky detail, it’s often the whole game.
Quick self-check: which type of spot should you choose?
Before you book anything, decide what kind of night you’re realistically building. This avoids the classic mistake of choosing a legendary location that doesn’t match your skill level or travel style.
- If you’re new: pick drive-up viewpoints, stable ground, and nearby lodging, you’ll shoot more and troubleshoot less.
- If you want Milky Way “core” shots: prioritize southern horizons and months when the core is up at night for your latitude.
- If you want star trails: you can tolerate a bit more light pollution, but need safe all-night access and less wind.
- If you want deep-sky targets: prioritize seeing conditions and altitude, and assume you’ll need more time than one night.
- If you’re traveling with family: choose spots with easy bathrooms, short walks, and a backup plan if clouds roll in.
A small but honest rule: if you only have one night, choose the spot with the highest chance of clear skies, not the one with the most Instagram posts.
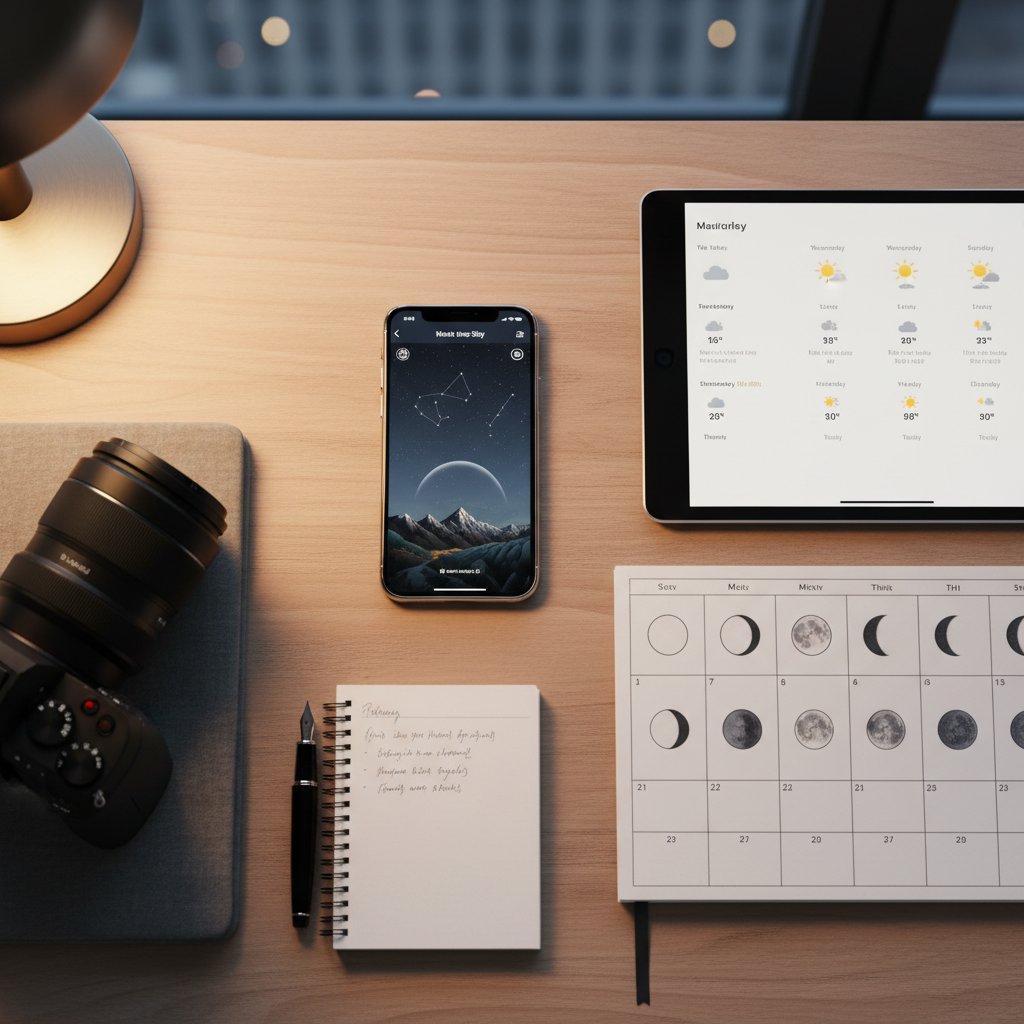
Reliable astrophotography travel spots in the U.S. (and what they’re good at)
There’s no single “top 10” that fits everyone, but these places are frequent repeat picks because they combine dark skies with access and recognizable foregrounds. Conditions vary by season and year, so treat this as a short list to research, not a promise.
- Big Bend National Park, Texas: very dark skies, big horizons, desert foregrounds, strong Milky Way potential.
- Death Valley National Park, California: vast vistas and dark pockets, but heat and distance are real factors.
- Grand Canyon region, Arizona: iconic foregrounds, many viewpoints, but popularity means you should plan parking and timing.
- Bryce Canyon area, Utah: high elevation and dramatic formations, nights can run cold and windy.
- Great Basin National Park, Nevada: dark skies and altitude, often quieter than marquee parks.
- Cherry Springs State Park, Pennsylvania: a go-to in the Northeast for darker skies and community-friendly observing areas.
- Mauna Kea region (visitor area), Hawaii: altitude and clarity can be excellent, but you must follow local rules and health cautions.
According to the National Park Service (NPS), many parks actively manage night skies and encourage responsible stargazing, which usually translates into better visitor info and fewer surprises about night access.
Comparison table: choose a spot by travel style
This is the decision lens I see working for most trips: match the spot to your constraints, then optimize the shot list.
| Traveler type | What to prioritize | Good-fit examples | Common pain point |
|---|---|---|---|
| Weekend road trip | Drive-up access, quick compositions | Cherry Springs, Bryce viewpoints | Cloud gamble, limited time |
| First-time Milky Way shooter | Safe turnout, clear southern view | Big Bend, Great Basin | Overthinking settings |
| Landscape + stars | Foreground variety, scouting at sunset | Grand Canyon region, Utah parks | Balancing foreground exposure |
| Deep-sky hobbyist | Seeing, altitude, multi-night window | High desert/plateaus, Hawaii (with precautions) | Setup time and fatigue |
How to plan timing: moon, season, and the “one-night problem”
Timing decisions usually matter more than the exact pin on the map, especially for Milky Way work.
- Moon phase: aim for a new moon or nights when the moon sets early, your sky stays darker for longer.
- Milky Way visibility: in much of the U.S., the core is typically best from late spring through early fall, but the exact window changes by latitude and time of night.
- Weather patterns: deserts often deliver clearer skies, mountain areas can create fast-changing clouds, check hourly forecasts.
- Arrival strategy: scout foreground at sunset, then shoot blue hour frames, later add star exposures, it saves stress.
If you only have one night, build a Plan B within 60–120 minutes of driving, and commit to it early instead of waiting for “maybe” clouds to clear.
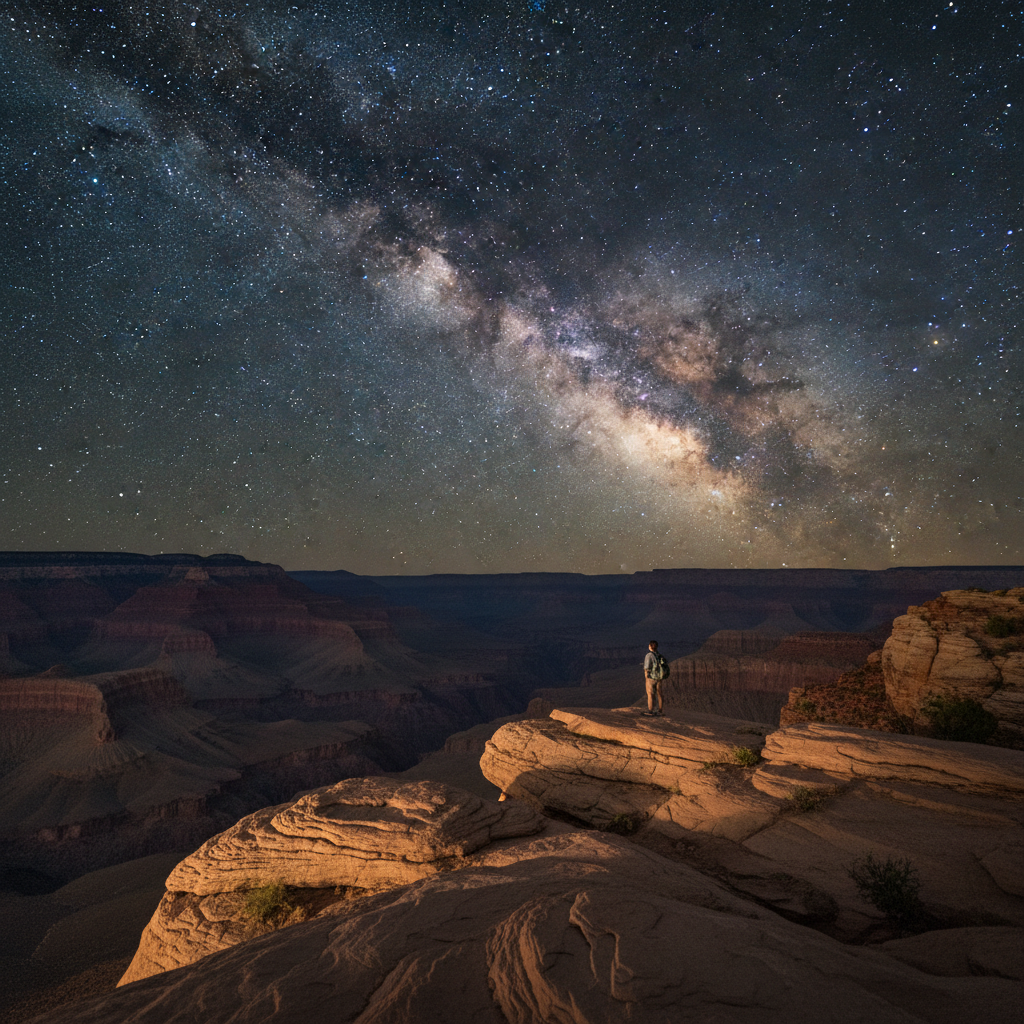
Field workflow that helps you come home with usable files
You can shoot at world-class astrophotography travel spots and still bring home soft, noisy images if your workflow collapses in the dark. Keep it boring and repeatable.
Practical capture steps
- Lock focus: manual focus on a bright star, then confirm with magnified live view, tape the focus ring if your lens drifts.
- Stabilize: sturdy tripod, weight or bag for wind, and use a remote or 2-second timer.
- Start simple: wide lens (14–24mm range), open aperture, raise ISO as needed, then adjust shutter to control star motion.
- Shoot a safety set: take a second exposure series slightly brighter and slightly darker, you’ll thank yourself during editing.
- Foreground plan: try one clean silhouette, one subtle light-painted frame, and one twilight blend, variety beats perfection chasing.
Key takeaways (print this mentally)
- Dark sky + sharp focus beats fancy composition with mushy stars.
- One strong scene is better than five rushed locations.
- Redundancy matters: extra batteries, headlamp, and a second memory card.
Safety, etiquette, and common mistakes that waste a night
Night shooting adds risk, mostly from fatigue and unfamiliar terrain. If you’re in remote areas, consider traveling with a partner and share your plan with someone. When in doubt, follow posted rules and local guidance.
- Don’t trespass for “the shot”: private land boundaries at night are easy to misread, and it can turn serious quickly.
- Respect other shooters: keep white lights off, use red light sparingly, and don’t walk through someone’s frame.
- Mind altitude: high-elevation locations can cause headaches or nausea for some people, if symptoms feel severe, it’s smart to stop and consider medical advice.
- Watch the weather: wind gusts, sudden storms, or flash-flood risk in desert washes are not rare, if conditions shift, leave early.
A common error is arriving at full darkness without scouting, then stumbling around trying to invent a composition. Ten minutes at dusk can save two hours later.
When it’s worth getting extra help
Sometimes you don’t need a better spot, you need fewer unknowns.
- If you’re flying in and have limited nights, a local workshop or guide can reduce location scouting and help navigate access rules.
- If you’re attempting deep-sky imaging or tracked panoramas, it may help to ask a local astronomy club about safe sites and typical conditions.
- If a location has sensitive environments or cultural restrictions, follow official guidance and consider contacting local land managers rather than guessing.
According to the International Dark-Sky Association, responsible lighting and night-sky protection practices help preserve dark skies, so choosing well-managed areas can be a practical win for photography and a respectful choice for the place.
Conclusion: picking the right spot is really picking the right constraints
The best astrophotography travel spots are the ones where your timing, access, and comfort line up, you spend less energy “making it work,” and more energy shooting. Pick one primary location, set a realistic shot list, and keep a nearby backup if clouds show up.
If you want a simple next step, choose your travel dates around the moon first, then shortlist two locations within a few hours of each other, and lock in a foreground you can scout before dark.
FAQ
- What are the best astrophotography travel spots for beginners in the U.S.?
Places with easy night access and established viewing areas tend to work best, such as Cherry Springs or popular viewpoints near major parks, because you spend less time worrying about navigation and more time learning focus and exposure. - How far from a city do I need to go for Milky Way photos?
It varies, but many photographers aim for clearly darker zones on light pollution maps rather than a specific mile count. Terrain also matters, a mountain range can block a distant glow, while a flat plain can carry it far. - Is a “Dark Sky Park” always the darkest option?
Not always. Designation often signals active night-sky management and education, which is great, but there can be darker non-designated areas nearby. The bigger win is usually reliable access and clear rules. - When should I schedule a trip for the Milky Way core?
In many U.S. locations, late spring through early fall is a common window, but the best hours shift through the season. Check an astronomy app for your exact dates so you know when the core rises and where it sits. - Do I need a star tracker when traveling?
For wide-angle Milky Way landscapes, many people skip it and still get great results. A tracker helps for longer focal lengths or cleaner files, but it adds setup time and more ways to lose a night if something misbehaves. - How do I avoid coming home with soft stars?
Focus discipline is the fix: magnify live view on a bright star, confirm sharpness, then don’t touch the ring. Also check a few images at 100% early in the session, because “looks fine on the LCD” often lies. - What should I pack for night shooting in remote parks?
Extra batteries, a red headlamp, warm layers, water, offline maps, and a way to signal for help if you’ll be far from services. If you have medical concerns or you’re traveling solo, it may be wise to choose more developed sites.
If you’re planning astrophotography travel spots around a tight window, it can help to build a simple one-page plan: moon times, two candidate locations, and three must-get compositions, because the less you decide at midnight, the more you actually shoot.