
Waterfall hiking trails easy enough for travelers usually come down to three things: short mileage, gentle elevation, and a trailhead that doesn’t demand a high-clearance car or a full-day plan.
If you’ve ever landed in a new city, grabbed a rental, and realized sunset comes earlier than expected, you already know why “easy” matters, it’s not about bragging rights, it’s about getting to the waterfall and back without stress.
This guide helps you sort “easy” versus “looks easy online,” choose trails that fit tight itineraries, and pack like a person who wants photos and a good time, not a rescue story.
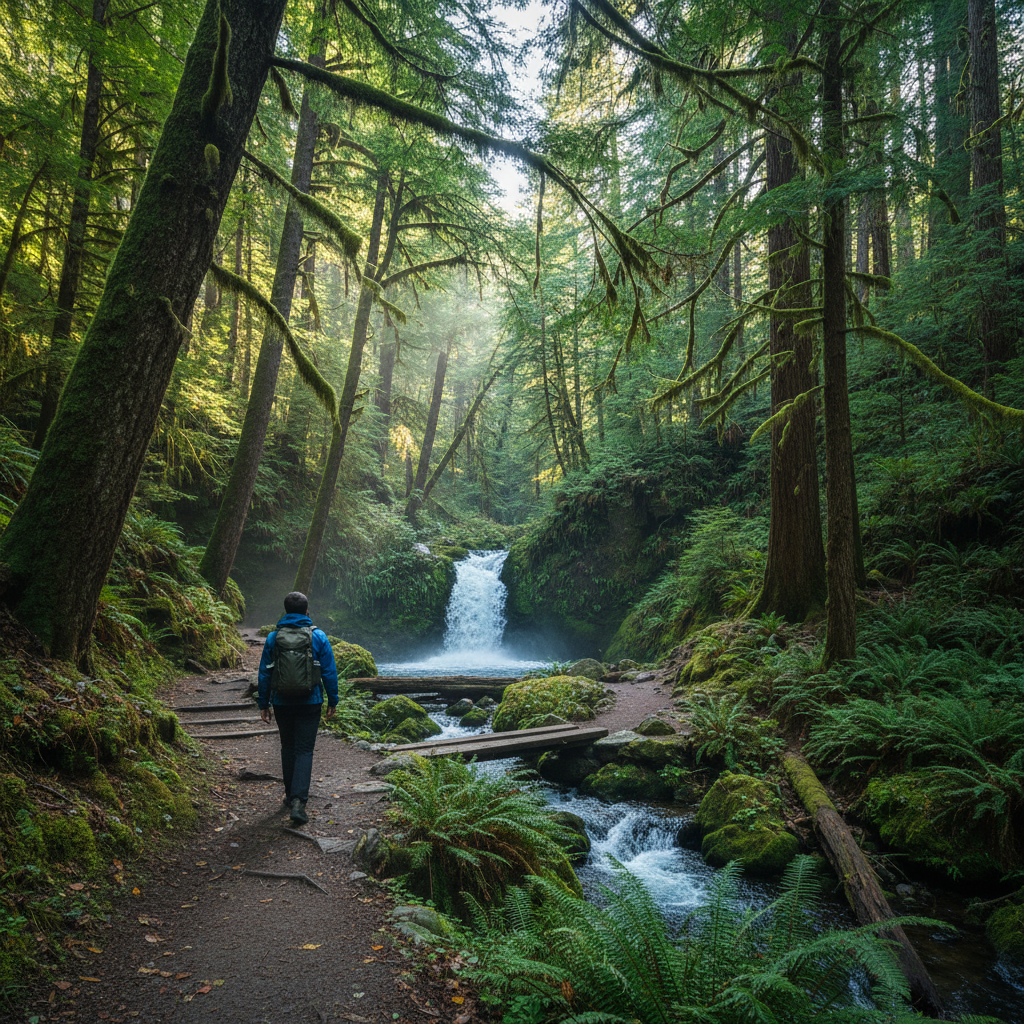
What “Easy” Really Means for Waterfall Hikes
“Easy” can be a little slippery because trail apps, park signage, and personal fitness don’t always agree. For travel planning, I like a practical definition: you can finish comfortably without training, and you have margin if parking is messy or the viewpoint is crowded.
- Distance: commonly 0.5–3 miles round trip works well for travel days.
- Elevation gain: under about 500 feet is where many people feel it stays “easy,” though surface and heat matter.
- Surface: packed dirt or boardwalk beats loose rock or rooty mud when you’re in casual shoes.
- Navigation: obvious route, clear signage, limited “where do we go now” moments.
According to National Park Service (NPS)... trail conditions can change quickly due to weather, seasonal runoff, and maintenance, so the “easy” label is best treated as a starting point, not a guarantee.
Why Travelers Get Tripped Up (Even on Easy Trails)
Most problems aren’t dramatic, they’re small miscalculations that stack up. And yes, they happen on waterfall hiking trails easy on paper.
- Timing drift: a “30-minute walk” becomes 90 minutes after parking loops, bathroom stops, and photo breaks.
- Wet rock confidence: waterfalls mean slick surfaces, spray, and algae, even on family-friendly paths.
- Footwear mismatch: sandals and smooth-soled fashion sneakers can turn mild terrain into ankle drama.
- Seasonal surprises: the trail stays easy, but the waterfall may be thin in late summer, or the crossing gets high after storms.
One more thing people underestimate: crowds. Easy waterfall spots can feel like theme-park lines on weekends, which changes the vibe and the safety equation around ledges.
Quick Self-Check: Pick the Right “Easy” Trail for Your Trip
Before you commit, run this quick checklist. It keeps the choice honest, especially when you’re tempted by a pretty photo.
10 questions that save you time
- Do I have 2–3 hours total including driving, parking, walking, and photos?
- Am I traveling with kids, older adults, or anyone with knee/ankle limits?
- Is there a reliable trailhead with restrooms or at least clear facilities nearby?
- Is the route exposed to heat, sun, or wind?
- Will I still be walking near dusk?
- Do I need cell service, or can I handle a short dead zone?
- Is there a known “danger zone” around the falls where people slip?
- Can my rental car reach the trailhead comfortably?
- Is the waterfall likely to be flowing this week?
- Do I have a backup stop if parking is full?
If you answer “no” to two or three of these, look for a more developed option like a boardwalk overlook, a paved path, or a viewpoint close to the lot.
How to Find Easy Waterfall Trails Anywhere (Without Overplanning)
You don’t need a 40-tab research session. You need a repeatable way to filter for low-friction hikes when you’re in a new place.
Use these filters when searching
- “out and back” routes, fewer navigation surprises than loop mazes.
- “paved,” “boardwalk,” “stroller-friendly,” or “ADA-accessible” if you want true ease.
- Recent reviews that mention mud, washouts, or closed bridges.
- Photos from the last 2–4 weeks to confirm water flow and trail condition.
According to U.S. Forest Service (USFS)... visitors should check official alerts for closures and hazards before heading out, which is especially useful when you’re not local and don’t know what “normal conditions” look like.
Practical Trail Picks by Scenario (Choose Your “Easy”)
Instead of naming a handful of famous spots and pretending they work for everyone, it’s more useful to match the trail type to your day. Here are the scenarios that show up most for travelers.
1) You have a tight schedule (airport-day hike)
- Target 1–2 miles round trip, minimal elevation.
- Prioritize trailheads within 15–30 minutes of where you already are.
- Choose falls with a defined viewpoint so you’re not tempted to “keep going.”
2) You’re traveling with kids or mixed fitness levels
- Look for wide paths, guardrails near overlooks, and fewer steep drop-offs.
- Prefer routes with benches or picnic tables near the end.
- Plan a snack break before the waterfall, not after, morale matters.
3) You want the “big waterfall” photo without a hard hike
- Search for viewpoints or lower overlooks, some iconic falls have multiple access points.
- Go early for light and fewer crowds, your photo improves and the trail feels easier.
4) You’re hiking in shoulder season or after rain
- Pick gravel, boardwalk, or well-drained trails.
- Assume slick rock near the base, keep distance from the waterline.
- If you see fast water or a submerged crossing, turning back is a normal call.
A Simple Plan for the Day: Gear, Timing, and Safety
For waterfall hiking trails easy in distance, the biggest upgrades come from small habits. This is the part that feels boring until it saves your day.
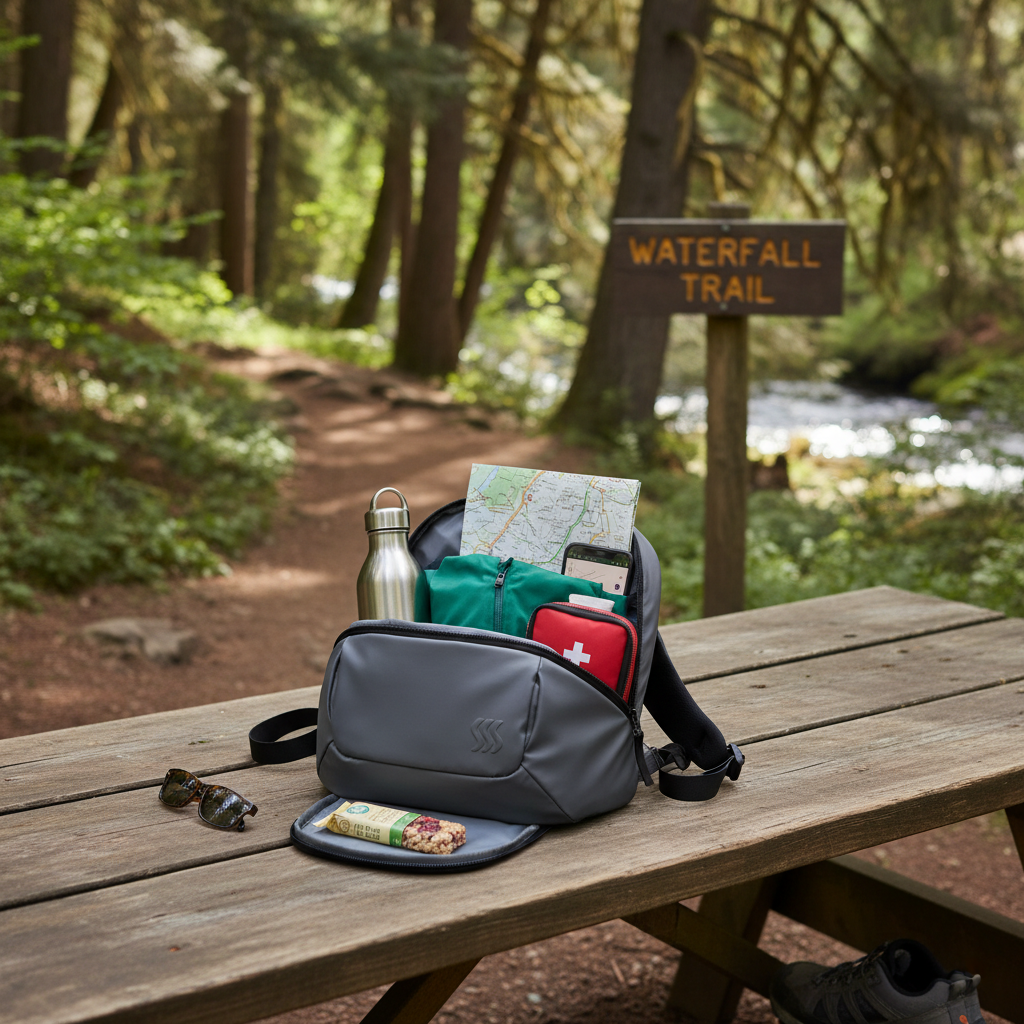
What to bring (light but not careless)
- Water: even short hikes feel longer in humidity or heat.
- Grip-first shoes: trail runners or sneakers with decent tread.
- Thin layer or rain shell: spray plus wind can chill fast.
- Snack: helps prevent the “we’re hangry at the turnaround” spiral.
- Offline map: download before you lose service.
Timing that usually works
- Arrive at the lot before 10 a.m. on weekends when possible.
- Budget extra 30–60 minutes for crowds at popular overlooks.
- Turnaround time matters more than “almost there,” pick a time and stick to it.
According to Centers for Disease Control and Prevention (CDC)... basic outdoor heat guidance includes hydration and pacing, and if you have medical concerns, it’s smart to consult a healthcare professional about activity limits.
Comparison Table: Spot the “Easy” Option Fast
Use this as a quick sorting tool when you’re choosing between two or three options on a travel day.
| Trail Type | Why It Feels Easy | Common Catch | Best For |
|---|---|---|---|
| Boardwalk / paved overlook | Stable footing, clear route | Can be crowded, limited views | Families, quick stops, mobility needs |
| Short out-and-back (1–3 mi) | Simple navigation, flexible turnaround | Mud or roots after rain | Most travelers, casual hikers |
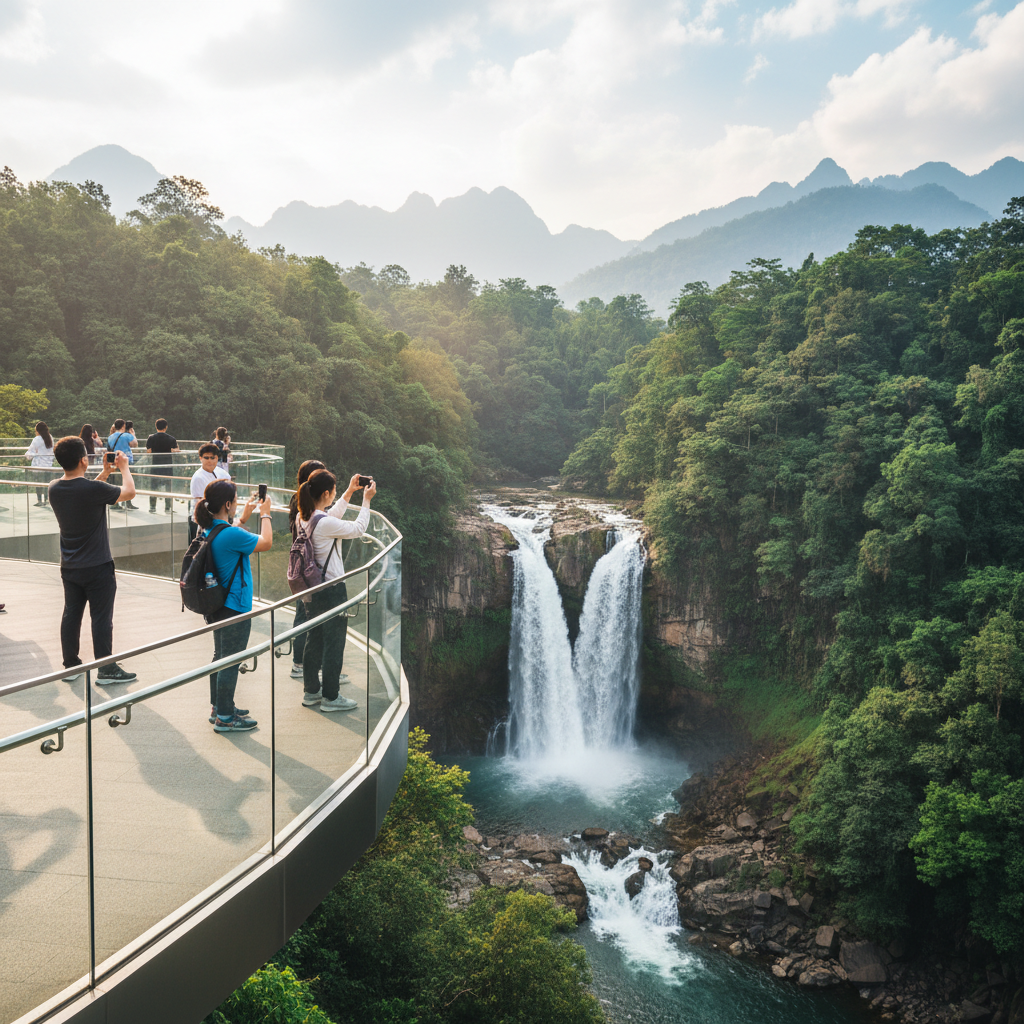
| Gorge trail with railings | Engineered path, scenic payoff | Lots of stairs can feel harder | Photo-focused trips, cooler weather |
| Creekside path to falls | Gentle grade, shaded | Slippery rocks near water | Hot days, beginners who move carefully |
Common Mistakes That Make an Easy Hike Feel Hard
These are the patterns that turn a chill outing into “why did we do this,” even when the mileage is small.
- Chasing the base of the falls: the official viewpoint is often safer and still photogenic.
- Underestimating stairs: short gorge trails can be stair-heavy, knees notice.
- Skipping the forecast: light rain can mean slick steps and swollen streams.
- Assuming cell service: don’t rely on last-minute map loading.
- Overpacking: heavy bags make mild grades feel steep.
If your goal is “easy,” treat temptation as the real enemy: unofficial side paths, wet boulders, and “just a bit farther” choices do most of the damage.
When to Consider Expert Help or a More Guided Option
Most travelers don’t need a guide for beginner-friendly routes, but there are cases where extra support is reasonable.
- You’re visiting an area known for fast weather swings, flash floods, or tricky terrain.
- Someone in your group has a medical condition that could be affected by exertion or heat, a clinician can advise on safe limits.
- You want to combine waterfalls with wildlife viewing or backcountry access, and you’re not used to that environment.
When in doubt, start with ranger stations, official park visitor centers, or local outfitter shops, they’re usually the most grounded sources for current trail reality.
Key Takeaways (Save This for Trip Planning)
- Easy is more than distance, think footing, crowds, and access.
- For travel days, pick trails with buffer time and a clear turnaround plan.
- Waterfall areas add slip risk, stay on official viewpoints when possible.
- Check NPS/USFS alerts and recent conditions, especially after storms.
Conclusion: Make “Easy” Work for You
Waterfall hiking trails easy enough for travelers aren’t about doing less, they’re about making the payoff predictable, so your trip stays fun even when timing or weather gets weird.
Your next move is simple: pick one trail that fits your day, then pick a backup viewpoint nearby in case parking or conditions don’t cooperate, that tiny bit of planning is what turns a good idea into an actually good afternoon.
FAQ
What is considered an easy waterfall hike for beginners?
Many beginners do well with 0.5–3 miles round trip and modest elevation, but surface quality and weather can matter as much as mileage, especially near wet rocks.
How do I tell if a waterfall will have enough water to be worth it?
Look for recent photos and recent comments, then sanity-check with official park notes when available, late summer and drought periods can reduce flow in some regions.
Are easy waterfall trails safe in rain?
They can be, but slick steps, muddy sections, and higher creek flow are common after rain, if the route includes a crossing or steep wet rock, it may be smarter to choose a paved overlook.
Do I need hiking boots for easy waterfall hiking trails?
Often no, but you do want traction, trail runners or sturdy sneakers with tread usually beat smooth-soled shoes, boots help if the trail is muddy or uneven.
What time of day is best to avoid crowds at popular waterfalls?
Early morning is the most reliable bet, especially on weekends, it’s also when parking is easier and you’re less rushed by fading light.
How can I keep an “easy” hike from feeling exhausting?
Start slower than you think, drink small amounts regularly, and pick a turnaround time before you leave the trailhead, those three habits prevent the late-hike slump.
What should I do if I see people going off-trail near the falls?
Treat it as a signal, not an invitation, unofficial paths are where slips and falls happen most, stick to marked routes and viewpoints even if it means a less “dramatic” angle.
If you’re trying to squeeze a waterfall stop into a packed itinerary, it helps to build a short list of easy options near your route, then choose based on conditions that day, if you want, tell me the state or city you’re visiting and your available time window, and I can suggest what to look for in local trail listings.