
Glacier travel viewing spots can feel deceptively simple until you’re standing at a closed trailhead, staring at fog, or realizing the “quick stop” is a two-hour drive. This guide is for choosing places where you can actually see glaciers, not just read about them on a sign.
If you plan well, you’ll get better views with less walking, fewer crowds, and fewer safety headaches. And yes, you can do it without crampons or technical glacier travel in many parks, as long as you pick the right viewpoints.
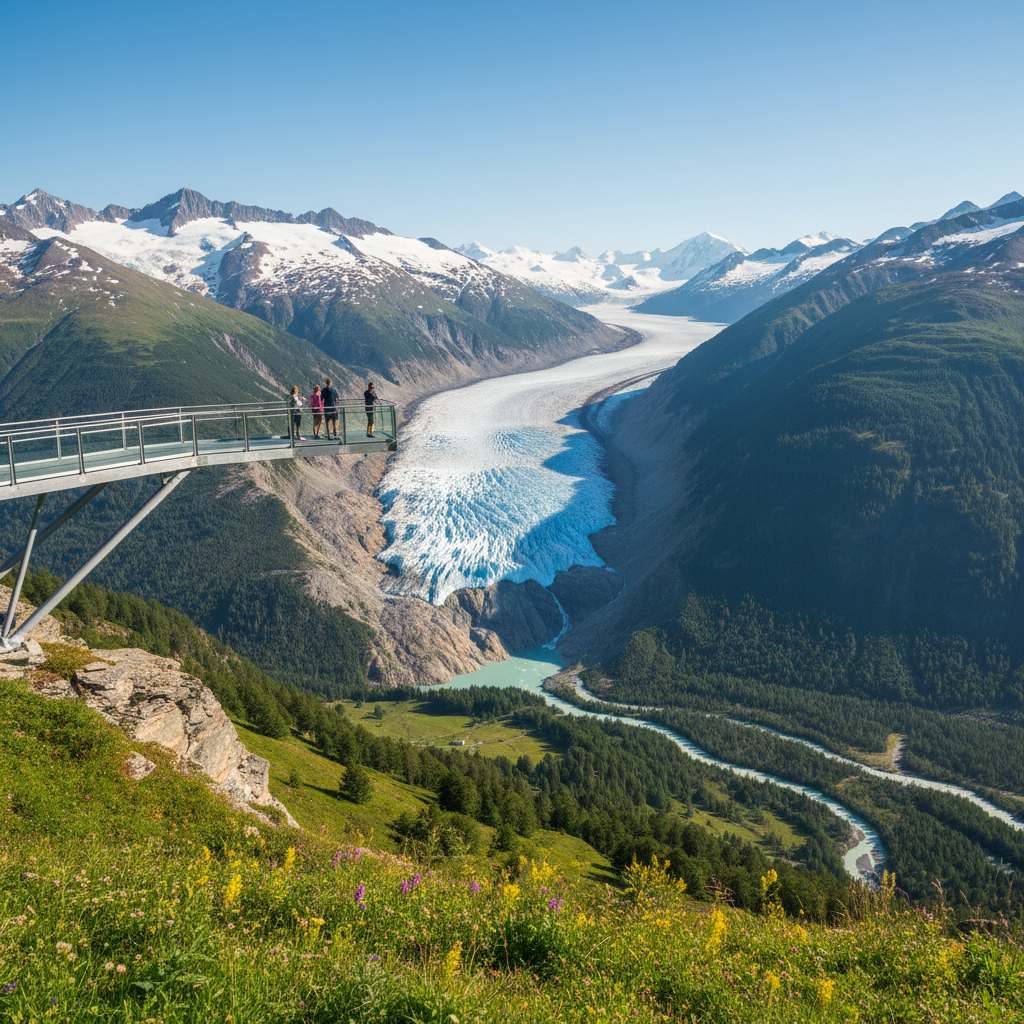
A quick heads-up before we dive in, “glacier viewpoint” can mean very different things: a roadside pullout with a distant panorama, a short hike to a lake with icebergs, or a boat tour that brings you close to a calving face. You’ll get options for each, plus a simple way to decide what fits your trip.
What makes a glacier viewing spot actually “good”
A strong viewpoint is less about being famous and more about what you can reliably see when you arrive. Many glacier travel viewing spots look amazing on a clear day, then disappoint when clouds settle in, or when summer melt pulls the ice line far uphill.
- Line of sight: You want an unobstructed angle, not a “maybe” through trees or a valley bend.
- Distance to ice: Closer isn’t always safer, but very far can feel like a gray smudge without binoculars.
- Seasonal reliability: Late summer often means less visible ice near trail endpoints, while early season may mean snow cover that hides ice texture.
- Access realism: Parking limits, shuttle rules, and road construction change the experience more than most itineraries admit.
- Safety margin: Stable ground, signed routes, and predictable footing matter, especially for families.
According to the National Park Service (NPS), visitors should stay on designated trails and respect closures in glaciated terrain, since conditions can change quickly and hazards may not look obvious from a distance.
Common types of glacier travel viewing spots (and what to expect)
Instead of chasing a single “best” place, it helps to pick the right category for your time, fitness, and risk comfort. In the U.S. and Alaska especially, you’ll see these patterns over and over.
Roadside overlooks
These are your low-effort wins: quick access, decent sightlines, and easy timing around weather. The tradeoff is distance, you often view a glacier on a mountainside rather than standing near ice.
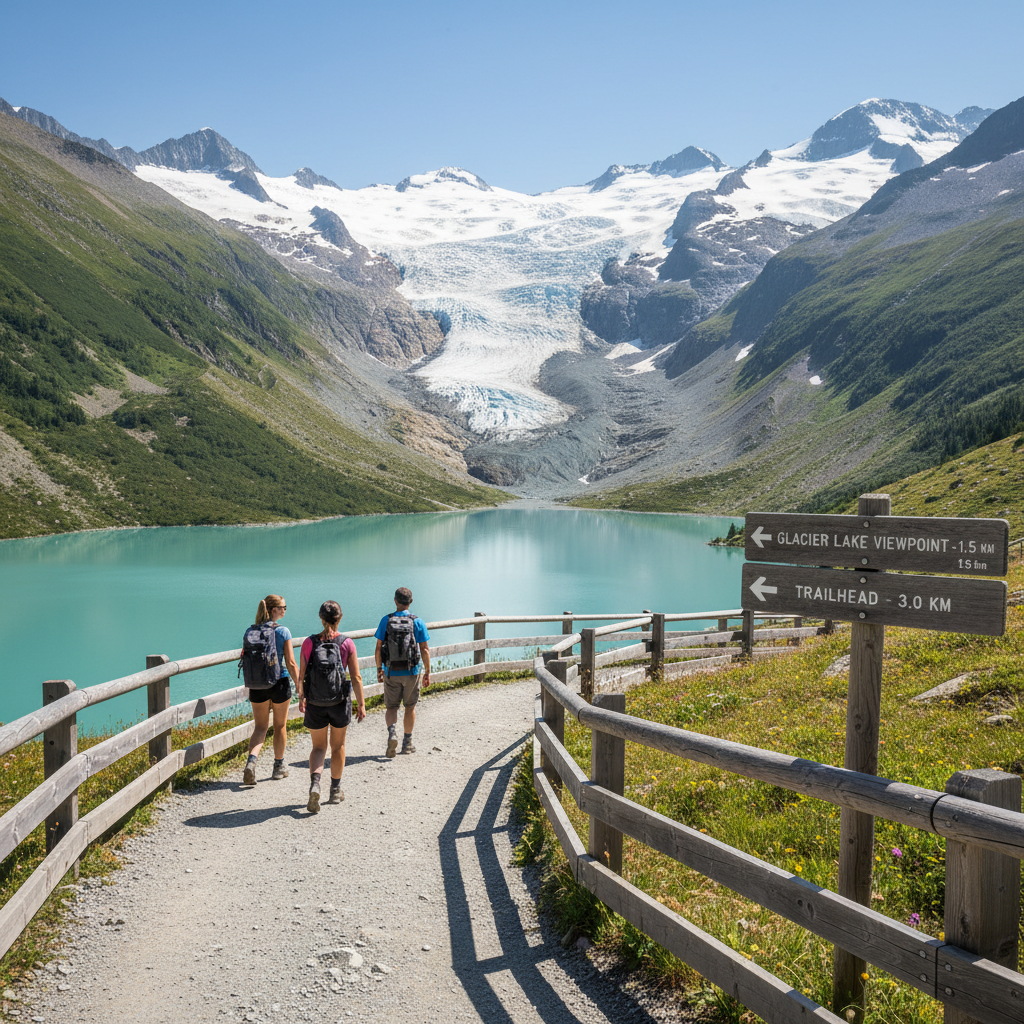
Short hikes to lakes or valleys
Often the sweet spot for most travelers. You’ll get stronger scale cues like moraines, milky glacial rivers, or floating ice in a proglacial lake.
Boat or cruise viewing
Best when you want proximity without scrambling on unstable terrain. You may see calving, hear the ice, and get dramatic faces, but visibility depends heavily on weather and the operator’s route.
Guided glacier walks (higher commitment)
This crosses into true glacier travel. It can be memorable, but it’s also the most sensitive to conditions, gear, and guide availability. If you’re only after sightseeing, you often don’t need this category.
Quick self-check: which viewing plan fits you?
If you’re stuck deciding between “easy overlook” and “all-day adventure,” use this as a practical filter. Be honest here, it saves trips.
- You want the easiest win if: you have limited time, travel with kids, or need predictable access. Aim for roadside overlooks and short, paved viewpoints.
- You want the best value if: you can hike 2–6 miles round trip and handle uneven ground. Aim for lake-and-valley hikes with clear trail descriptions.
- You want the most dramatic ice if: you’re okay paying for a tour and adjusting to weather. Aim for boat viewing in tidewater glacier regions.
- You might want a guide if: you feel tempted to step onto ice, cross snowfields, or shortcut around trail barriers. Don’t improvise, guided trips exist for a reason.
Planning your day: visibility, timing, and the “viewing window”
Glaciers don’t care about your itinerary, they care about weather, light, and season. Most disappointments come from arriving at the wrong time of day, or assuming a photo from July will match September.
- Prioritize early starts: morning often brings steadier air and more open skies in mountainous areas, though this varies by region.
- Bring simple optics: a small pair of binoculars can turn distant ice into something you can actually read, crevasses, seracs, and flow lines.
- Expect seasonal retreat: many trails that “used to” end at ice now end at rock, a lake, or a viewpoint. That can still be worthwhile, just set expectations.
- Build a backup: pick one “high effort” spot and one “low effort” spot nearby, so clouds don’t wipe your day.
According to NOAA, mountain weather can change rapidly, and localized conditions may differ from town forecasts, which is why flexible plans usually outperform rigid schedules.
A practical shortlist of U.S. regions known for glacier sightseeing
You don’t need a master list of every glacier on the continent, you need regions where access and viewing opportunities line up with normal travel. Here are areas that commonly work well for visitors, though specific trail status and access can change year to year.
- Alaska: coastal and southcentral areas offer boat-viewing options and road-accessible glacier viewpoints.
- Pacific Northwest: volcano and alpine zones can provide high-elevation viewpoints where glaciers are visible on clear days.
- Mountain West: select national parks and wilderness areas include remaining glaciers, often viewed from long day hikes.
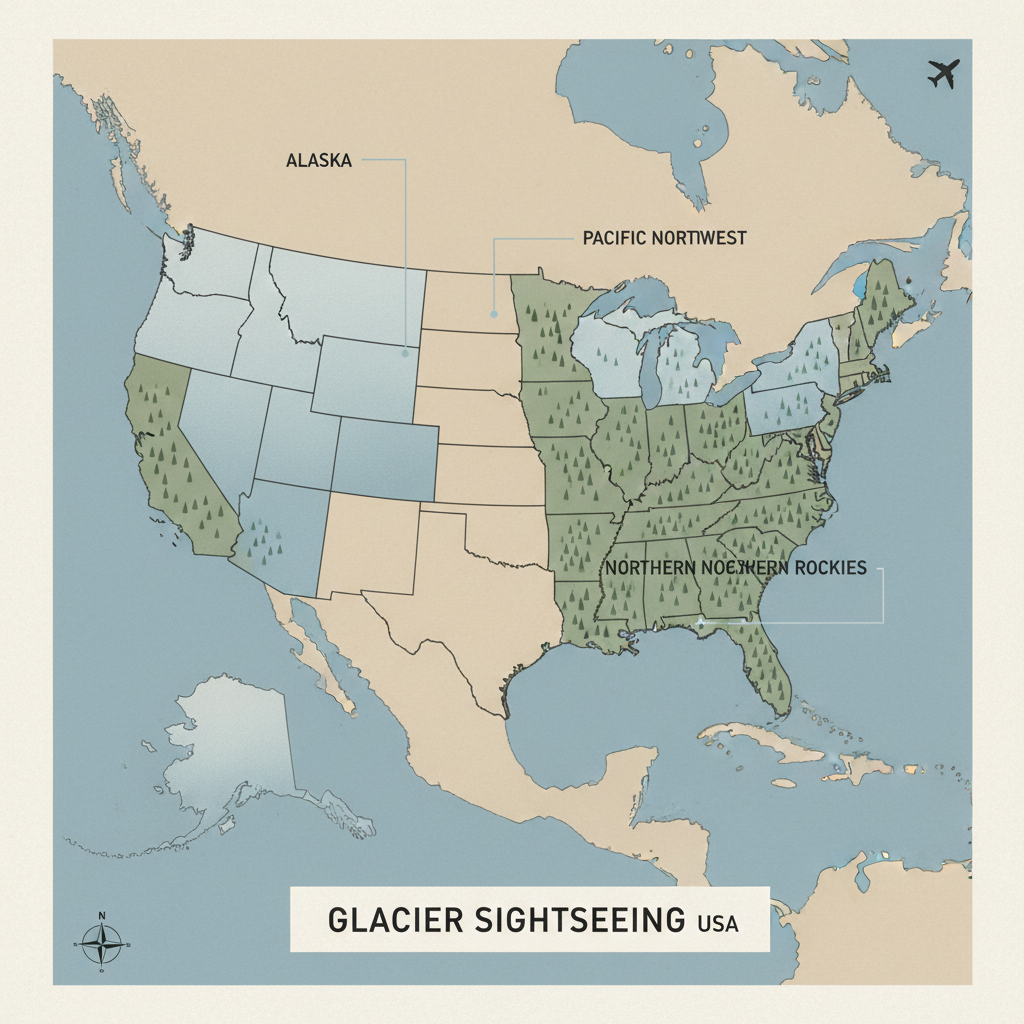
If you’re choosing between regions, be blunt about your constraints: flights and tours can dominate the schedule in Alaska, while lower-48 glacier views often require more hiking for less “in-your-face” ice.
Comparison table: pick the right viewpoint style
This table is a quick decision tool when you’re building an itinerary around glacier travel viewing spots but don’t want to overplan.
| Viewpoint type | Effort level | What you’ll likely see | Best for | Typical downsides |
|---|---|---|---|---|
| Roadside overlook | Low | Distant glacier, broad panorama | Families, tight schedules | Small-looking ice, crowds, limited parking |
| Short hike viewpoint | Medium | Valley glacier views, moraines, rivers | Most travelers | Weather exposure, uneven terrain |
| Lake viewpoint | Medium | Icebergs, glacier face at distance | Photographers, scenic pacing | Wind, fog, changing lake ice |
| Boat/cruise viewing | Low-to-medium | Large faces, calving potential | Big drama with low hiking | Cost, seasickness risk, visibility limits |
| Guided glacier walk | High | On-ice features up close | Adventure-focused trips | Conditions, gear, time commitment |
Safety and etiquette: the stuff that keeps trips from going sideways
Glacier sightseeing has a weird trap: the danger can look “still” and harmless. In reality, loose rock, cold water, and unstable edges are what hurt people, not some dramatic movie moment.
- Don’t step onto ice unless you’re on a guided trip: crevasses can be hidden by snow bridges, and the hazard isn’t obvious from the surface.
- Give water and cliff edges extra space: glacial rivers can be fast and undercut banks may collapse.
- Respect closure signs: they often reflect current rockfall, flood, or wildlife management issues, not “rules for the sake of rules.”
- Pack for cold, even in summer: wind near ice can feel like a different season, especially on boat decks or exposed viewpoints.
According to the U.S. Forest Service, staying on established routes and preparing for rapidly changing conditions reduces incident risk in mountainous backcountry areas.
How to build a simple itinerary around glacier viewing
If you want something you can execute without obsessing, this structure works for many trips. The idea is to lock one “anchor” glacier view, then stack flexible add-ons.
- Step 1: Choose one primary viewpoint you’ll be happy with even if visibility is only decent.
- Step 2: Add one backup spot at a different elevation or exposure, so weather shifts don’t wipe both.
- Step 3: Decide your comfort ceiling: how far you’ll hike, and whether you’ll pay for a boat or guided option.
- Step 4: Prep a “view kit” the night before: layers, rain shell, snacks, water, binoculars, phone battery, and a small microfiber cloth for lenses.
Key takeaways: pick a viewpoint type that matches your day, plan for weather instead of fighting it, and avoid turning sightseeing into unplanned glacier travel.
Conclusion: a good glacier view is mostly a good decision
The most memorable glacier travel viewing spots usually aren’t the hardest ones, they’re the ones where access, sightlines, and timing cooperate. Choose a viewpoint style that matches your group, build a backup, and treat safety boundaries as part of the plan, not a buzzkill.
If you do one thing today, save two options on your map for the same day, one easy, one more immersive, then check conditions the evening before you go.
FAQ
What are the best glacier travel viewing spots for beginners?
Roadside overlooks and short, well-marked hikes are usually the most beginner-friendly. They reduce navigation stress and keep you on stable terrain while still offering real glacier views on clear days.
Do I need special gear to visit glacier viewpoints?
For standard sightseeing spots, usually no technical gear is required. You typically need layers, rain protection, and good footwear, while crampons and ropes belong to guided on-ice trips.
When is the best time of year to see glaciers in the U.S.?
Many travelers aim for summer due to access and longer daylight. Visibility and how “close” the ice looks can vary by region and year, so it’s smart to check recent trail reports.
Are glacier lakes safer than walking near the ice?
They can be safer if you stay on established viewpoints, but cold water, wind, and unstable shorelines still matter. If you see signs about hazards or barriers, treat them as non-negotiable.
Can you see glaciers without hiking?
Yes, in some regions you can see glaciers from pullouts, visitor areas, or via boat tours. The tradeoff is often distance, you’ll want binoculars or a camera with zoom for detail.
Why did my “glacier trail” not end at the glacier?
This is common. Trails may stop short due to safety closures, changing terrain, or because the ice has retreated beyond the original endpoint, and the hike still teaches you what glacial landscapes look like.
Is it safe to approach a glacier face for photos?
Getting close can be risky due to rockfall, ice collapse, and unstable ground, even when it looks calm. It’s usually better to use a safe viewpoint or a guided tour that sets boundaries.
If you’re planning a trip and want a more efficient shortlist, it helps to share your region, dates, hiking tolerance, and whether you prefer overlooks, short hikes, or boat viewing, then you can match glacier travel viewing spots to a realistic day plan instead of guessing.