
How to use public transport in London comes down to two things: paying the right way and knowing which network to take for each trip, Tube, bus, train, or river. If you try to wing it like you might in a smaller U.S. city, you can still get around, but you’ll waste time at ticket machines, miss the best routes, or get confused by zones.
London transit is genuinely convenient, but it has its own logic. The good news is you don’t need to memorize the whole map, you just need a simple setup: one payment method, one route-planning app, and a few rules that keep you out of trouble during rush hour.
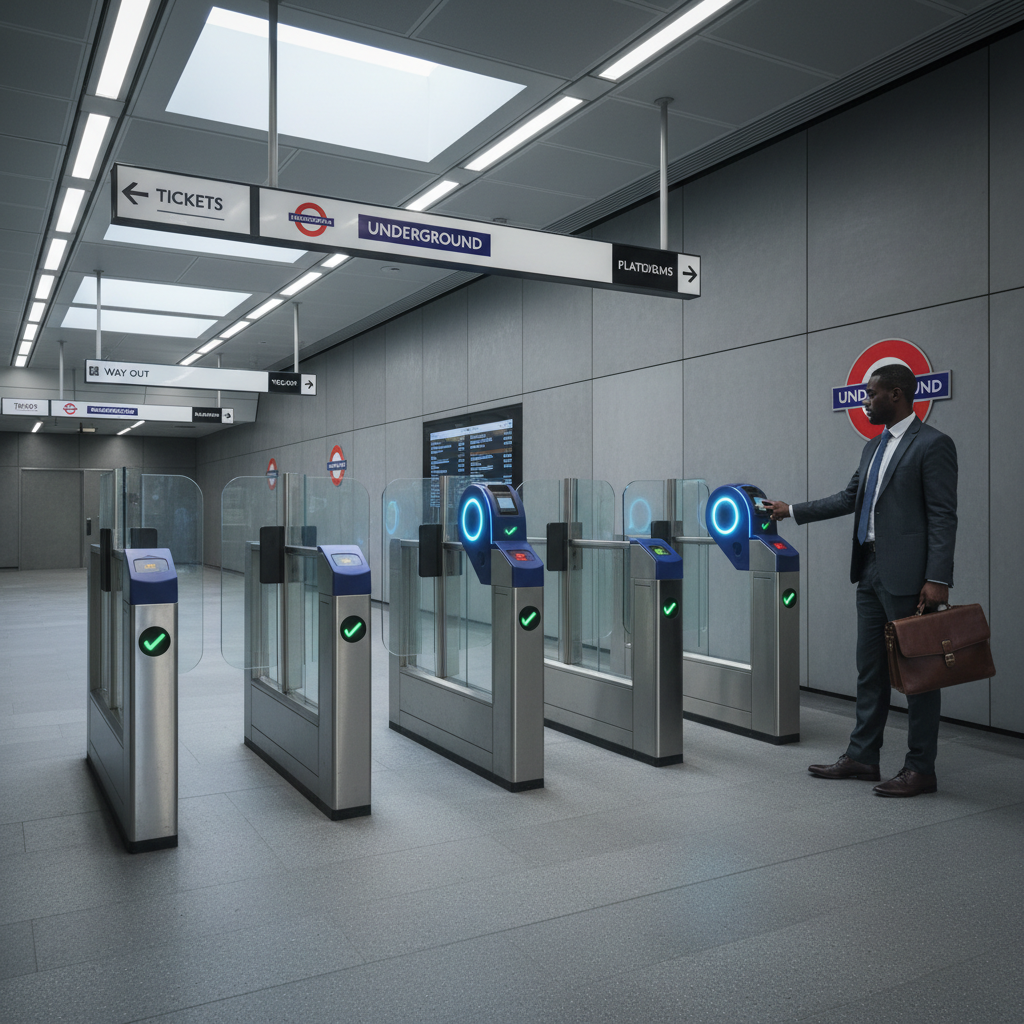
I’ll walk you through how payment works (Oyster vs contactless vs paper tickets), how zones and fares usually trip people up, which modes to use in real situations, and a quick checklist you can follow the first time you ride.
What counts as “public transport” in London (and when to use each)
London’s network feels like a few systems stitched together, because it is. Most visitors use a mix.
- Tube (London Underground): Fast across the city, great for most tourist routes, can be crowded at peak times.
- Buses: Cheaper, scenic, less confusing than they look once you use an app, but slower in traffic.
- Overground: City rail lines useful for neighborhoods not well-served by the Tube.
- National Rail: Trains that connect London to suburbs and other cities; sometimes shares stations with the Tube.
- DLR (Docklands Light Railway): Handy for Canary Wharf/Greenwich area, mostly automated trains.
- Elizabeth line: High-capacity line that cuts across London quickly, especially useful east–west.
- Trams: Limited mainly to South London (Croydon area), not common for central sightseeing.
- River Bus (Thames Clippers): More “nice-to-have” than essential, but can be a pleasant alternative.
According to Transport for London (TfL)... the Tube and buses are the backbone of daily travel, and for most visitors, those two cover the majority of trips.
Paying for rides: Oyster vs contactless vs paper tickets
This is where most confusion lives. In many cases, you do not need to buy individual tickets for every ride.
Option A: Contactless card or phone (best for many U.S. visitors)
If you have a contactless credit/debit card or a mobile wallet, you can usually just tap in and out. It’s simple, and fare caps often protect you from paying more than necessary in a day or week.
- Pros: No top-ups, no separate card, fast at gates.
- Watch-outs: Foreign transaction fees can add up, and some banks may flag repeated small taps.
Option B: Oyster card (useful when contactless is inconvenient)
Oyster is a reusable stored-value card. It still makes sense if you want to keep spending off your main card, you’re traveling with someone who doesn’t have contactless, or you want tighter control over transit costs.
- Pros: Easy budgeting, widely accepted, avoids bank issues.
- Watch-outs: You need to buy it and top it up, refunds can be a bit annoying if you’re in a rush.
Option C: Paper tickets (rarely the best deal)
Paper tickets exist, but they’re often more expensive and slower, and they can lock you into specific trips. They’re typically a fallback when payment cards fail or for certain rail journeys.
Zones, caps, and fare logic (the part that feels unintuitive)
London fares usually depend on where and how you travel. You’ll hear “Zone 1,” “Zone 2,” and so on, which roughly describe distance from central London.
- Tube/rail fares vary by zones and time: Peak vs off-peak can change the cost.
- Buses are simpler: A flat fare per ride, and you don’t tap out on buses.
- Daily/weekly caps: With contactless or Oyster, you often stop being charged after reaching a cap for eligible trips.
According to Transport for London (TfL)... fares and caps can differ by mode and zones, so if you’re comparing options, check TfL’s fare pages for the most current rules.
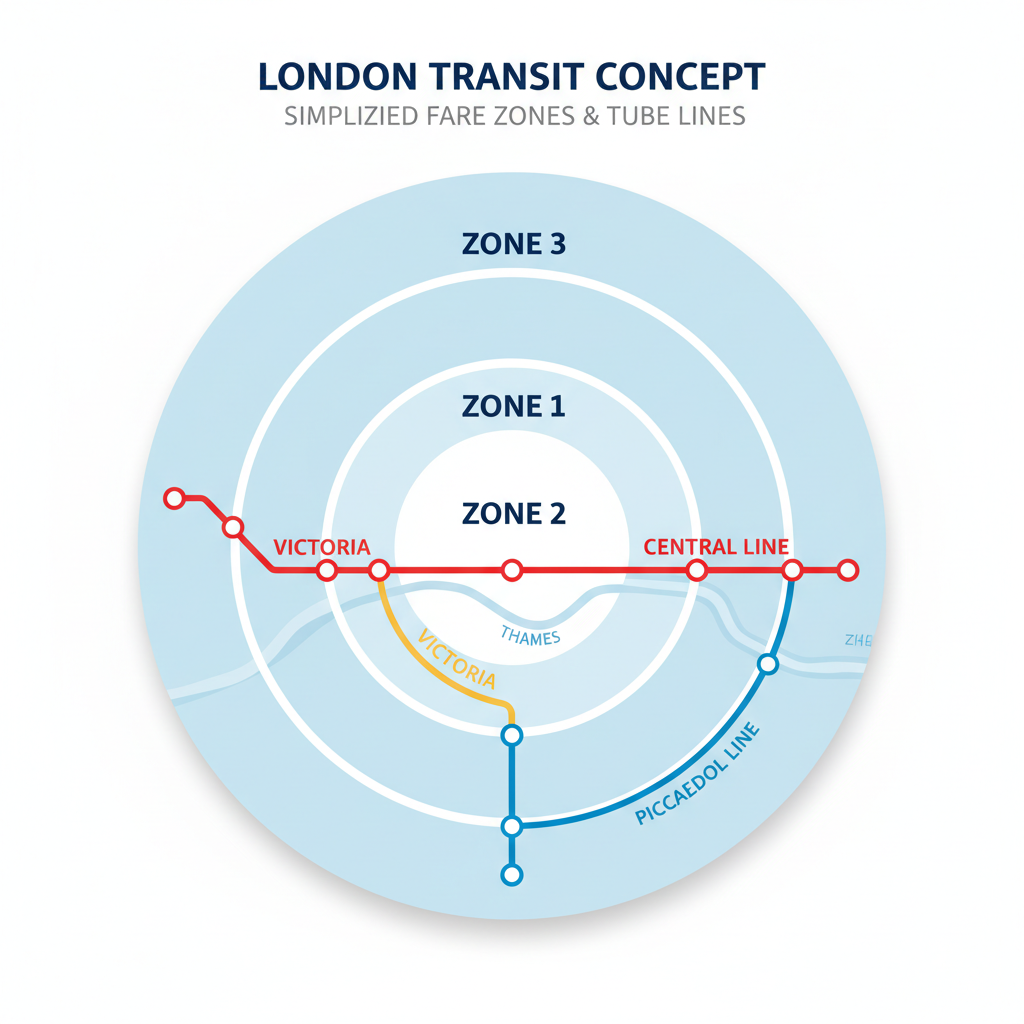
One practical rule: if your hotel is in Zone 1 or 2 and you’re mostly doing central sights, you’ll likely stay inside a predictable range. If you’re headed to places like Hampton Court, Wembley, Greenwich, or Heathrow, double-check the route and fare zones so you don’t get surprised.
Quick setup: what to do before your first ride
If you want the smooth version of how to use public transport in London, do this once and stop thinking about it.
- Pick one payment method: Either contactless (one card/device) or one Oyster, don’t mix randomly.
- Install one navigation app: Google Maps works well, and Citymapper is popular for detailed transit steps.
- Save key locations: Your hotel, a couple “must-see” spots, and the nearest major station.
- Check service status: On weekends, planned works are common; build in extra time.
According to Transport for London (TfL)... live updates and planned disruptions are posted on their status channels, and it’s worth a quick check before a long cross-city trip.
How to ride step-by-step (Tube, bus, rail) without second-guessing
The Tube: tap in, follow signs, tap out
This is the rhythm: enter through the gates, follow the line color and direction, ride, exit through gates again. The hard part isn’t the tapping, it’s picking the correct platform direction.
- At the station: Look for the line name and the final destination shown on signs, that’s the direction.
- On platforms: Stand behind the line, let people off first, and avoid blocking doors.
- Transfers: Some interchanges involve long walks; if you’re tight on time, choose routes with fewer changes.
Buses: tap once, use the rear doors
On buses you usually tap when boarding and you’re done, no tap out. For visitors, buses are underrated for short hops and sightseeing routes.
- Boarding: Enter at the front, tap, move in.
- Stops: Press the stop button early, some stops require signaling.
Overground/National Rail: similar to Tube, but station layouts vary
Many rail stations connect to the Underground, but ticket gates and platforms can feel more “train station” than “subway.” If you’re using the same payment method, the behavior stays consistent: tap in and tap out.
If a route planner suggests a National Rail segment, check whether your payment method is accepted for that journey, most central-area routes are fine, but edge cases exist.
Common scenarios and the route choices that usually work
Real life in London transport is situational. Here are choices that tend to reduce friction.
- Central sightseeing day: Mix Tube for longer jumps and buses for short, street-level hops.
- Traveling with kids or strollers: Favor buses and step-free stations, even if it’s slower.
- Late evening: Prioritize well-lit stations and simpler transfers; if you feel unsure, consider a licensed taxi or rideshare.
- Airport trips: Compare time vs cost, some airport routes are fast but pricier; confirm which service you’re taking.
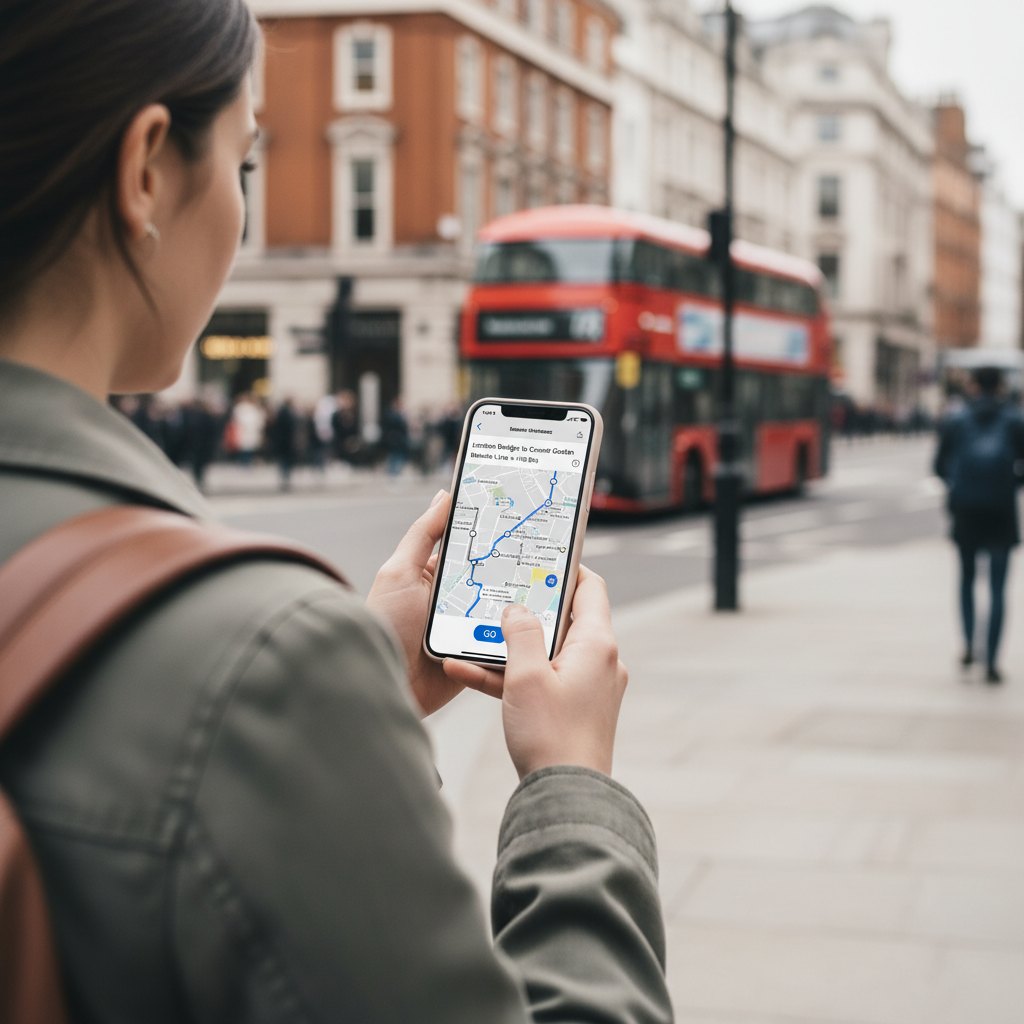
One small but high-impact habit: when you’re uncertain, stop near a wall, open your app, and confirm the next step. London stations have fast foot traffic, and “thinking in the middle” is when you feel the most stressed.
Practical tips, common mistakes, and a simple cheat sheet
These are the little things that separate a smooth day from a frustrating one.
Key tips that actually matter
- Keep the same card/device all day so caps track correctly.
- Mind the gap and watch your step, especially with luggage.
- Escalator etiquette: stand on the right, pass on the left.
- Rush hour is real: if you can, avoid peak commuting windows for comfort.
Common mistakes to avoid
- Mixing payment methods across taps, which can break capping logic.
- Forgetting to tap out on Tube/rail, which can trigger a maximum fare in many cases.
- Buying paper tickets by default without checking if contactless/Oyster is accepted.
- Assuming every station has elevators; many do not, so plan step-free routes when needed.
At-a-glance comparison table
| Mode | Best for | How you pay | Typical gotcha |
|---|---|---|---|
| Tube | Fast cross-city trips | Tap in + tap out | Wrong direction or long transfers |
| Bus | Short rides, sightseeing | Tap in only | Traffic delays |
| Overground | Outer neighborhoods | Tap in + tap out | Less frequent service on some branches |
| National Rail | Suburbs, day trips | Varies by route, often tap in/out in London | Not every journey matches TfL fare rules |
| River Bus | Scenic travel | Often contactless, check operator | Less coverage than Tube/bus |
Wrap-up: your “do this and you’ll be fine” plan
Once you understand the basics of how to use public transport in London, it stops feeling like a puzzle and starts feeling like a shortcut: pick one payment method, plan with one app, tap correctly, and choose Tube for speed or bus for simplicity and views.
If you’re traveling soon, set up contactless or an Oyster before your first big day, then do one low-stakes practice trip, hotel to a nearby attraction and back. That tiny rehearsal usually removes most of the anxiety.