
What to put in a travel first aid kit comes down to two things, where you’re going and what you can realistically use when something minor turns into a day-ruiner.
A lot of travelers pack “something for pain” and call it done, then get stuck with a blister that won’t quit, a stomach bug on a long bus ride, or a small cut that keeps reopening. The fix is not a huge kit, it’s a right-sized kit with a few smart add-ons based on the trip.
This guide gives you a solid baseline list, a quick self-check to customize it, and practical packing tips so you can actually find what you need when you need it.
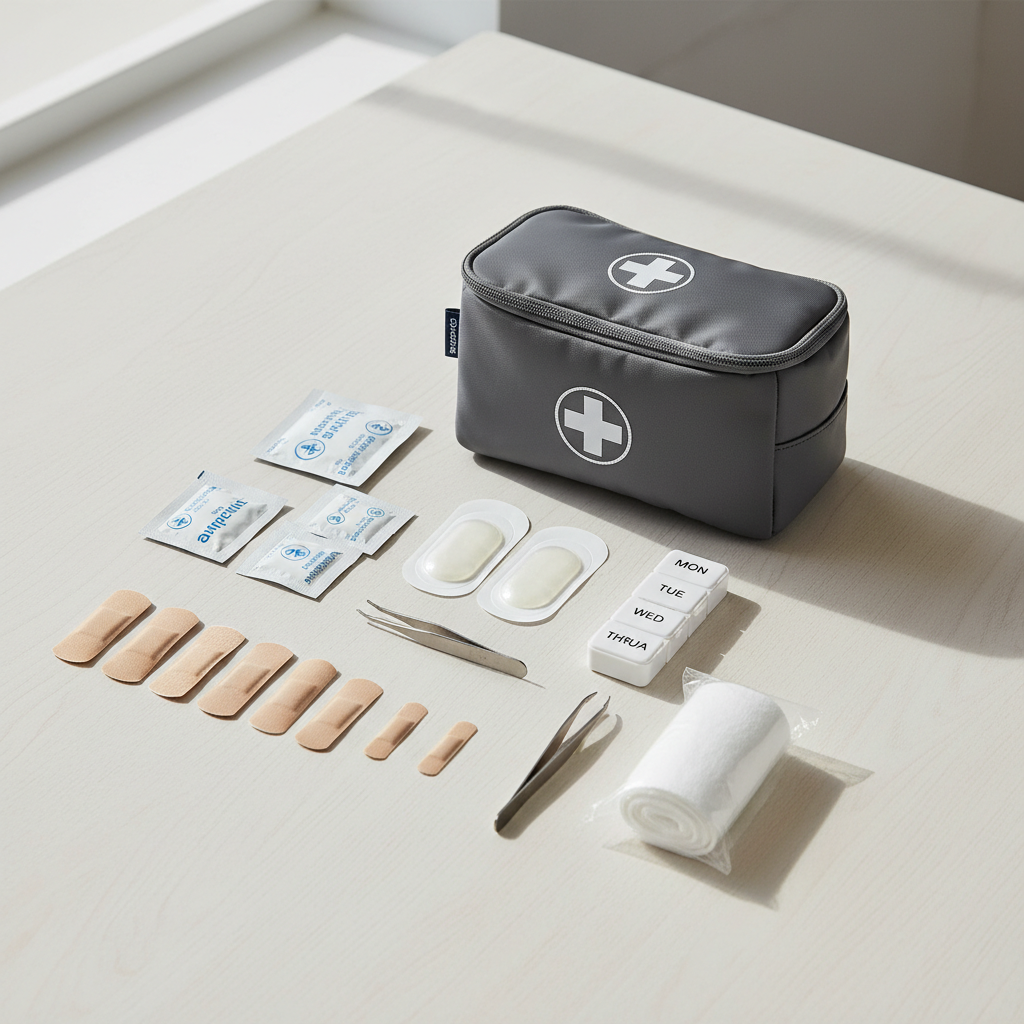
Start with a simple rule: build for “common + consequential”
The best kit covers problems that are common on the road and problems that are consequential if you ignore them. A blister is common, but it becomes consequential when you’re walking 18,000 steps a day. Mild diarrhea is common, but it’s a bigger deal if you’re hiking or far from clean bathrooms.
Try this quick mindset before you buy anything: pack for issues that (1) happen often, (2) are easy to treat yourself, and (3) would derail your plans if untreated.
- Common: headaches, small cuts, scrapes, blisters, indigestion
- Consequential: dehydration, allergic reactions, infected wounds, uncontrolled pain
- Not your job: anything severe or worsening fast, that’s “get help now” territory
The core travel first aid kit checklist (most trips)
If you only copy one section, make it this one. These items cover the typical “annoying but fixable” situations in hotels, road trips, city travel, and most domestic flights.
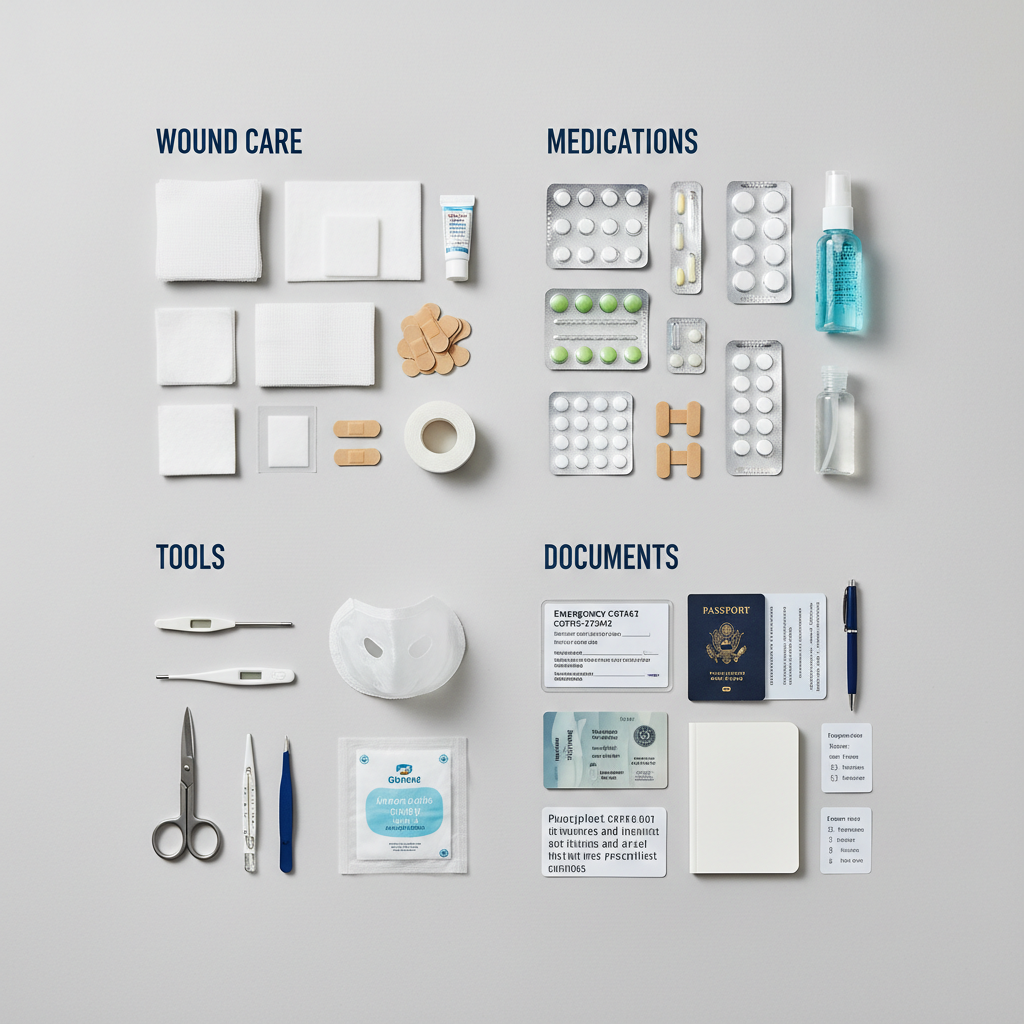
Wound and blister care
- Assorted adhesive bandages (including fingertip/knuckle shapes)
- Sterile gauze pads + small roll of medical tape
- Antiseptic wipes (single-use packets travel best)
- Antibiotic ointment or similar topical (check sensitivities)
- Blister treatment (hydrocolloid blister pads) + moleskin (optional)
Basic meds (OTC)
- Pain/fever reducer (e.g., acetaminophen or ibuprofen)
- Antihistamine for allergies/itching (non-drowsy + drowsy if you tolerate it)
- Anti-diarrheal (for symptom control; read labels carefully)
- Oral rehydration salts or electrolyte packets
- Antacid or acid reducer for heartburn
- Motion sickness option if you’re prone to it
Tools and “small stuff that saves the day”
- Tweezers (splinters, ticks, cactus hair)
- Small scissors or a mini trauma shear (TSA rules vary; consider packing in checked luggage)
- Thermometer (optional, but helpful when deciding whether to rest or seek care)
- Nitrile gloves (1–2 pairs)
- Hand sanitizer (travel size)
- Small zip bags (for trash, separating liquids, or isolating soiled items)
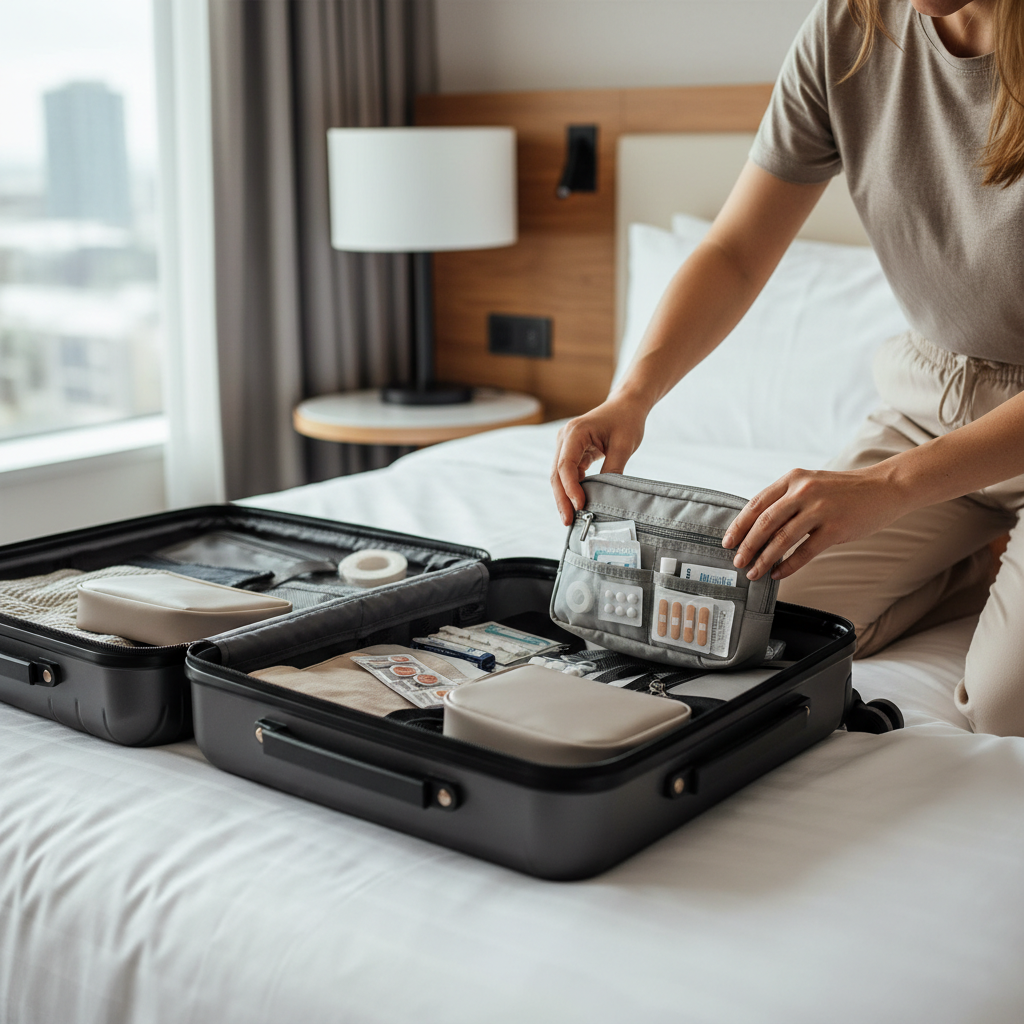
Customize by trip type (this is where most kits get smarter)
What to put in a travel first aid kit changes quickly once you factor in climate, distance from care, and how “remote” your days feel. A weekend in Chicago and a week in rural Arizona should not look identical.
Beach, heat, and sun-heavy trips
- High-SPF sunscreen (and reapply plan), aloe or burn gel
- Extra electrolyte packets
- Friction protection (blister pads, anti-chafe balm)
Hiking, camping, national parks
- More blister supplies than you think
- Elastic wrap bandage (sprains happen)
- Tick removal tool (or fine-tip tweezers) and a way to clean the bite area
International travel (especially where brands differ)
- A few extra doses of your go-to OTC meds, in original packaging if possible
- A written list of generic drug names you can show at a pharmacy
- Basic mask(s) if you expect crowded transit or poor air quality days
Travel with kids
- Kid-appropriate dosing tools (oral syringe/cup) and weight-based guidance from your pediatrician
- More bandages, more wipes, more patience
According to CDC, travelers benefit from preparing medications and health supplies before departure, especially when access to familiar products may be limited at the destination.
Quick self-check: what should YOUR kit include?
Use this as a fast filter. If you answer “yes,” consider adding the suggested items, or at least making sure you already have them.
- Prone to blisters? Add extra hydrocolloid pads, moleskin, and a small foot balm.
- Seasonal allergies or unknown foods? Add antihistamine, itch relief cream, and a plan for food labels.
- History of stomach issues? Add electrolyte packets, anti-diarrheal, and bland snack backups.
- Remote days (hikes, long drives)? Add more gauze, tape, and an elastic wrap.
- Chronic conditions? Pack extra prescription days, plus a written medication list.
- Shared room or group travel? Add a second mini pouch so basics stay accessible.
If you’re unsure about medication choices or interactions, it’s reasonable to ask a pharmacist or your clinician, especially if you take prescriptions regularly.
A practical packing table (what goes where)
This is the part people skip, then end up with the kit buried under charging cords. Split it by urgency and by travel rules.
| Item group | Examples | Where to pack | Why |
|---|---|---|---|
| Immediate-use basics | Bandages, blister pads, wipes, pain reliever | Personal item or top of carry-on | You’ll actually reach for it |
| Liquids/creams | Ointment, burn gel, sanitizer | Clear liquids bag (if flying) or a small side pouch | Speeds screening and avoids leaks |
| Tools | Tweezers, scissors | Checked bag if unsure; otherwise secured in kit | Reduces TSA hassle and rummaging |
| Prescription meds | Daily meds, inhaler, epinephrine (if prescribed) | Carry-on, original bottles when possible | Lost luggage is common enough to plan for |
Common mistakes that make a kit useless
A kit can look “complete” and still fail you in real life. These are the patterns that show up over and over.
- Bringing meds you’ve never tried. Travel is not the time to discover side effects. If you’re changing brands or types, consider testing at home after checking with a professional.
- Only packing tiny bandages. Small cuts are common, but so are bigger scrapes. A couple gauze pads and tape cover a lot.
- Forgetting the problem you actually get. If you always blister, make blisters the “main character” of your kit.
- No plan for heat illness. Electrolytes and hydration basics matter more than people think.
- Letting everything float loose. Use a pouch with compartments or small labeled bags so you can find items fast.
Also, check expiration dates before big trips, and replace anything that’s been cooked in a hot car or leaked in a toiletry bag.
When to stop self-treating and get professional help
A travel kit is for minor issues, not for pushing through serious symptoms. If something feels “off,” it’s usually worth listening to that instinct.
- Signs of severe allergic reaction (trouble breathing, swelling of face/lips, widespread hives)
- High fever that persists, confusion, severe dehydration, or fainting
- Deep wounds, uncontrolled bleeding, or wound edges that won’t stay closed
- Suspected fracture, significant head injury, or severe pain that escalates
- Infection signs: spreading redness, warmth, pus, red streaks, worsening swelling
According to FDA, you should read and follow Drug Facts labels on over-the-counter medicines and seek medical advice when symptoms persist or medications may conflict with your health conditions.
Key takeaways (so you can pack in 10 minutes)
- Build for “common + consequential,” not for rare emergencies you can’t manage alone.
- Prioritize wound and blister care since those problems derail travel fast.
- Customize by trip type (heat, hiking, international, kids) instead of buying a bigger pouch.
- Pack for access, keep the essentials where your hands can find them quickly.
If you want one simple action today, pack the core checklist, then add just two or three trip-specific items, that’s usually enough to make your kit feel “real” instead of aspirational.
Call to action: Before your next departure, do a two-minute audit, check quantities, replace expired items, and move the kit to a spot you can reach without unpacking your whole bag.