
Tidal pool travel guide planning starts with one simple truth: if you miss the right tide window, the “best spots” can look empty, slippery, or even off-limits.
That’s why tide pooling is less about wandering and more about timing, safety, and a little respect for the animals that live there. When you get those pieces right, you’ll see an entirely different beach: sea stars tucked under ledges, anemones closing like flowers, tiny crabs sprinting between rocks.
This guide focuses on practical decisions Americans typically need to make when exploring U.S. coasts, what to pack, how to move safely, and how to avoid the common mistakes that ruin the experience for you or the tide pool ecosystem.
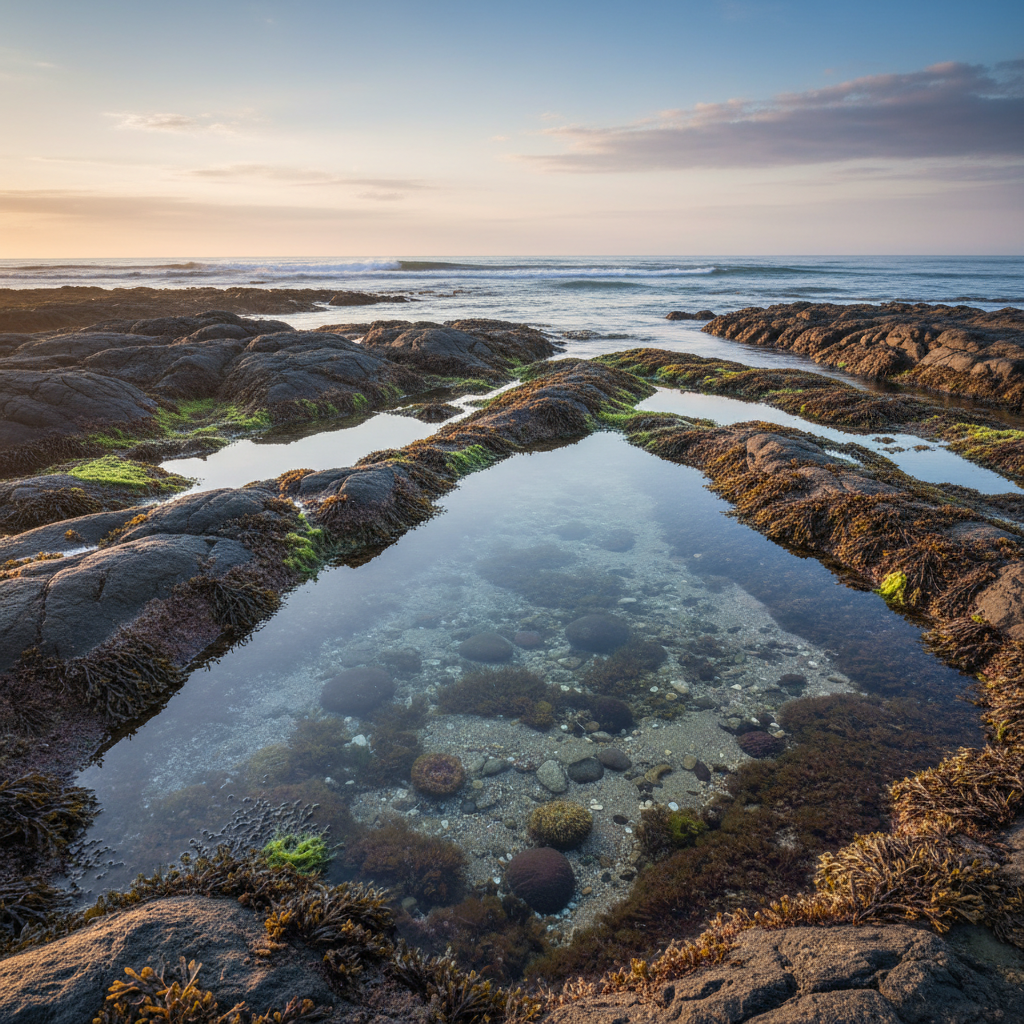
Pick the right day: tides matter more than the weather
The best tide pools show themselves around low tide, and the lowest low tides tend to expose more habitat. If you show up at mid tide, you might still have a nice walk, but the “wow” factor drops fast.
According to NOAA, tide predictions vary by location and date, and local conditions can shift water levels. In practice, you want to plan around the tide chart for your exact beach, not the nearest big city.
- Target window: arrive 60–90 minutes before low tide, stay through the low.
- Best tides: very low tides (often during new/full moon cycles) tend to reveal more pools, though conditions differ by coastline.
- Don’t ignore swell: an “easy” low tide can still be dangerous with strong surf.
Many people get stuck on the forecast and forget the tide. Flip that: check tides first, then choose the best weather day within that tide window.
Where to go: finding tide pools without guessing
Not every beach has good tide pools. Sandy beaches can be beautiful but often lack the rocky structure that holds pools. For reliable exploring, you typically want rocky platforms, jetties, or protected coves.
For U.S. travelers, a quick way to narrow options is to look for parks or preserves that explicitly mention tide pooling, intertidal zones, or marine protected areas. Rules are often clearer there too.
- West Coast (often strong): rocky headlands, marine reserves, state parks.
- Northeast (seasonal feel): granite coasts, calmer coves, colder water and wind.
- Hawaii (special rules): culturally sensitive sites and unique wildlife; follow local guidance carefully.
If you’re traveling with kids, prioritize places with shorter walks from parking and flatter rock shelves, because fatigue + wet rock is where falls happen.
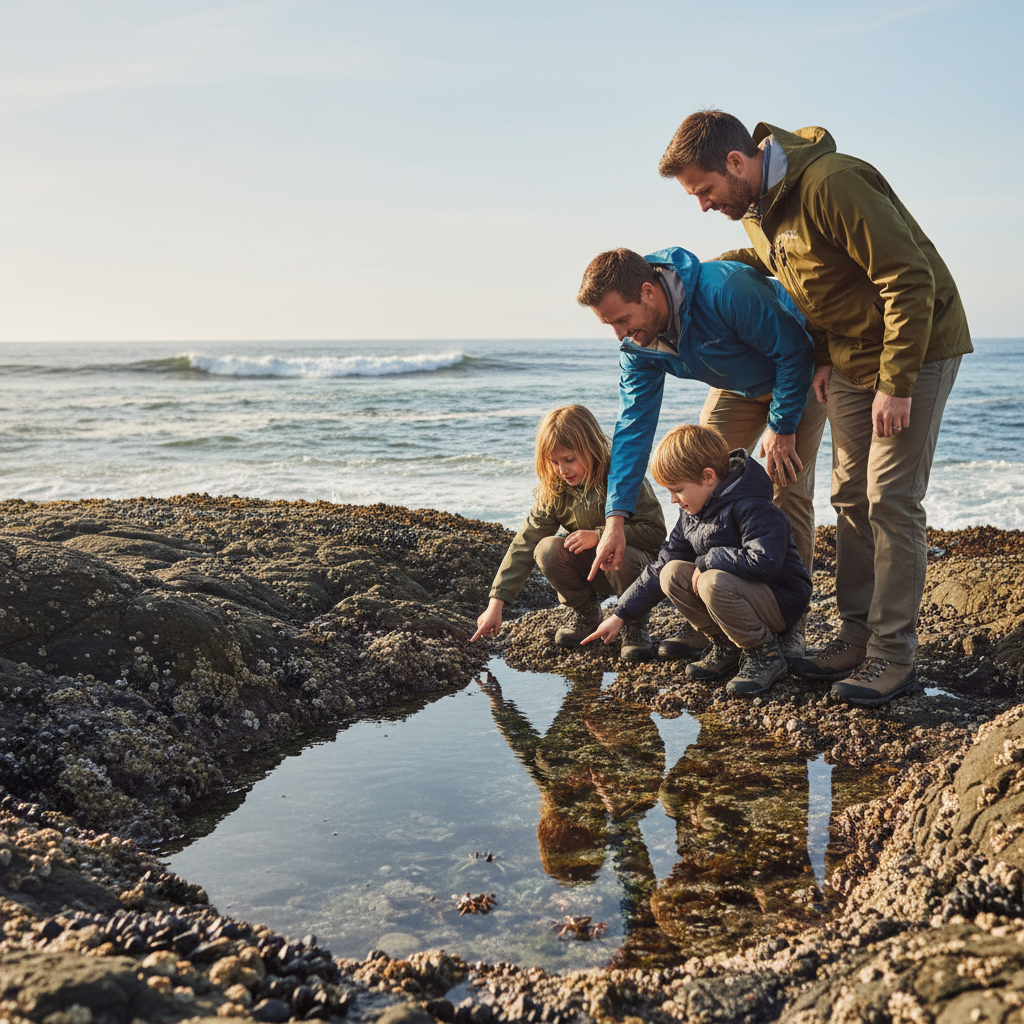
Gear that actually helps (and what to skip)
You don’t need a suitcase of equipment, but a few smart items change everything, especially on sharp, slippery rock.
Quick packing list
- Footwear: closed-toe shoes with grip (trail shoes work); avoid flip-flops.
- Layering: a wind layer often matters more than temperature near the water.
- Small towel: for wet hands, knees, or a quick clean-up.
- Water + snack: tide windows can keep you out longer than planned.
- Phone/camera: use a wrist strap if you lean over pools.
- Optional: polarized sunglasses to cut glare and see into water.
What to skip (most of the time)
- Buckets and nets: they encourage handling and can stress animals.
- Soap/hand sanitizer before touching water: residue can harm tide pool life; rinse hands with clean water instead.
- “Reef-safe” assumptions: even products labeled gentle can affect ecosystems; keep products off hands before exploring.
A solid tidal pool travel guide is basically a gear guide for traction and patience, not a scavenger-hunt kit.
Safety first: waves, slick rock, and real-world risk
Tide pooling looks calm until it isn’t. Rogue waves, slippery algae, and unstable rocks can turn a fun stop into a scary moment.
According to the National Park Service, coastal hazards can include sneaker waves and unstable footing, and visitors should keep a safe distance from surf zones. If you’re unsure, treat the ocean like it’s stronger than you think, because it usually is.
Self-check: are conditions OK for you today?
- Waves break far enough away that you can stay well back without “playing chicken” with the waterline.
- You can walk without jumping gaps or stepping on wet, steep slopes.
- Kids can follow “stop” and “back up” quickly.
- You have enough daylight to leave before rocks get dark and harder to read.
Simple rules that prevent most accidents
- Keep one eye on the ocean: especially when you crouch or photograph.
- Move like it’s a hike: slow steps, test footholds, use hands on stable rock if needed.
- Don’t turn your back on surf: if swell rises, retreat early.
- Know your exit: tides can cut off routes around headlands in some spots.
How to explore without harming wildlife (and still have fun)
Tide pools are small worlds that get stressed easily. The good news is you can see more when you slow down and look carefully, not when you poke and pry.
According to NOAA, many intertidal organisms are sensitive to handling and temperature changes. That aligns with what rangers and docents often repeat: look first, touch last, and touch lightly only when rules allow.
- Step on bare rock: avoid stepping on seaweed, mussel beds, or anything living.
- Hands off sea stars and anemones: oils and pressure can hurt them; some areas prohibit touching.
- Return rocks gently: if you lift a rock where allowed, put it back the same way to protect what lives underneath.
- Keep creatures in water: “just for a photo” can mean overheating or suffocation.
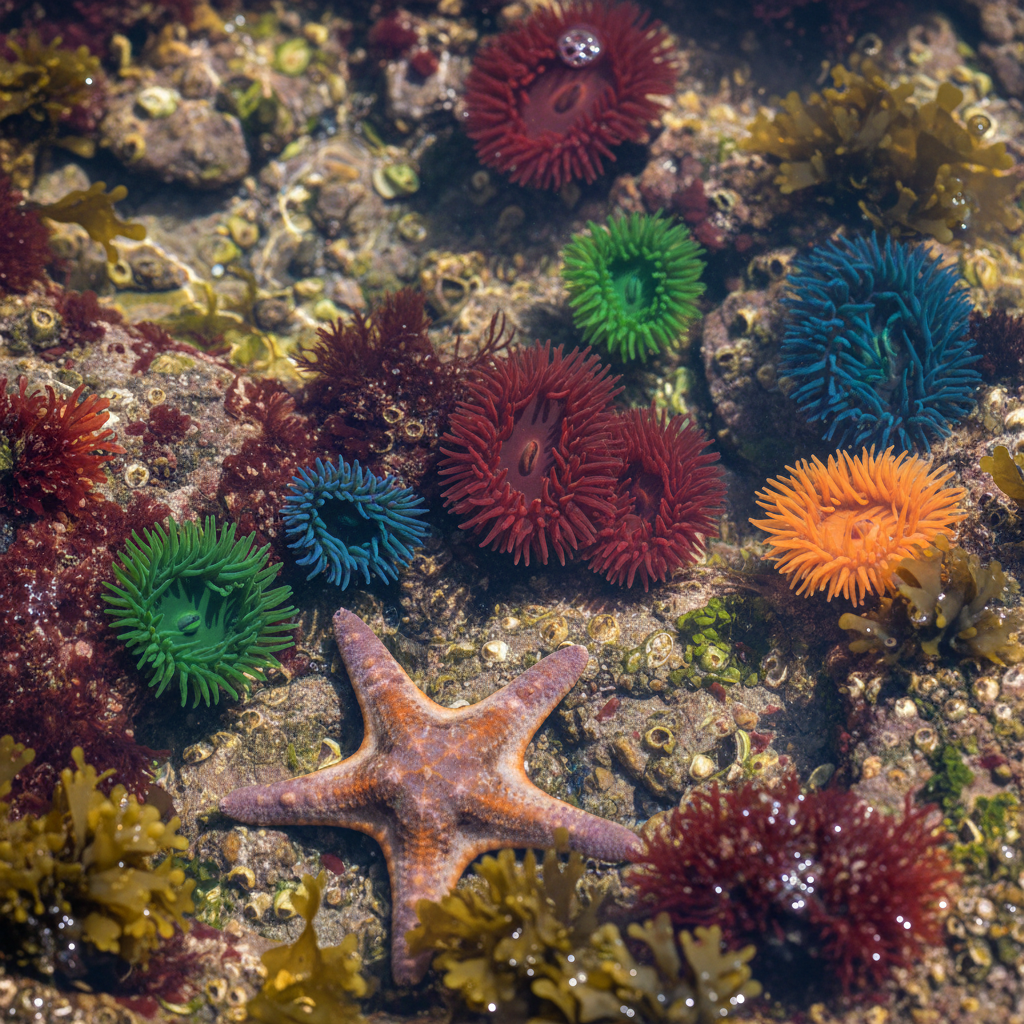
A simple 60-minute tide pooling plan (works for most beaches)
If you want something you can follow without overthinking, this is the routine many experienced beachgoers end up using.
- Minute 0–10: scan the area, identify the safe “high line” away from waves, and pick your turnaround point.
- Minute 10–30: explore the outer edges first while tide is still dropping, photographing bigger pools and rock faces.
- Minute 30–50: slow down, crouch, and watch one or two pools; movement reveals more than searching.
- Minute 50–60: start retreating early, rinse hands, do a quick gear check, and leave before the rush.
This tidal pool travel guide approach sounds basic, but it prevents the classic mistake: getting so focused on a perfect photo that you lose track of surf and time.
Quick reference table: timing, gear, and etiquette
Use this as a fast pre-trip checklist when you’re packing or picking a beach.
| Category | Best practice | Common mistake |
|---|---|---|
| Tide timing | Arrive 60–90 minutes before low tide | Showing up at “low tide” time and missing the window |
| Footwear | Closed-toe shoes with good tread | Flip-flops or smooth soles on algae-covered rock |
| Wave safety | Stay well back from the surf line | Turning your back to the ocean for photos |
| Wildlife care | Look closely, touch rarely, follow posted rules | Moving animals or leaving them exposed to air |
| Leave no trace | Pack out trash, avoid removing shells/rocks | Taking “souvenirs” from protected areas |
Key takeaways before you go
- Low tide is the schedule: plan around it, not around your brunch reservation.
- Traction beats toughness: the right shoes prevent most bad days.
- Watch the water: sneaker waves can happen even on calm-looking days.
- Gentle exploring shows more: when you stop grabbing and start watching, animals appear.
If you only remember one thing from this tidal pool travel guide, make it this: show up early, move slowly, and treat every pool like someone’s living room.
Conclusion: plan the tide window, then enjoy the details
A great tide pooling day rarely comes from luck. It comes from matching the beach to the tide chart, wearing shoes you trust on slick rock, and exploring in a way that keeps wildlife and people safe.
Pick one beach, check its specific tide prediction, and set a simple goal for your next trip: arrive early enough to watch the water pull back. The tide does the showing off for you, you just need to be there.
FAQ
What time should I arrive using a tidal pool travel guide?
Many visitors do well arriving 60–90 minutes before low tide, because you get time to orient yourself and watch new pools open up as water drops.
Are tide pools safe for kids?
Often yes, but it depends on surf, rock slope, and how crowded the spot gets. If waves reach the rock shelf or the footing stays slick, choose a calmer cove or a ranger-led area.
Can I touch sea stars or anemones?
Rules vary by beach and protected area, and some places prohibit touching. Even where allowed, minimal contact is safer for the animals; watching without touching usually leads to better sightings.
Do I need special shoes for tide pooling?
Not necessarily “special,” but you do want closed-toe shoes with real tread. Many people use trail runners; water shoes can work if they grip well on algae-covered rock.
What’s the best season for tide pooling in the U.S.?
It varies by region. Some coastlines get favorable low tides in winter mornings, others are better in spring or summer. Checking local tide charts for your travel dates beats picking a season by reputation.
What should I do if a wave suddenly comes higher than expected?
Back up immediately to higher ground and keep watching the set of waves for a few minutes. If conditions feel unpredictable, leaving early is a reasonable choice.
Can I take shells, rocks, or animals as souvenirs?
Many parks and marine protected areas restrict collecting, and removing items can harm habitat. When in doubt, treat it as a look-and-leave activity and follow posted signs or ranger guidance.
If you’re planning a weekend trip and want a more “plug-and-play” approach, build your itinerary around one low-tide window, pick an easy-access rocky beach with clear rules, and keep this checklist handy so you spend less time guessing and more time actually exploring.